The Beginner’s Guide to Capturing Cinematic Montages with your Smartphone
There’s something magical about a great montage.
🎥Montages lend to all sorts of amazing visual experiences both in movies, TV and online.
They keep the audience engaged and creates an amazing sense of atmosphere.
But capturing great montages can be hard, especially if you don’t know what you’re doing.
That’s why I created this free guide — so that anyone can learn how to capture cinematic montages quickly and easily for their own content.
You’ll get tips on crafting jaw-dropping professional looking montages without breaking the bank (or pulling your hair out in the process) — and craft cohesive “stories” told in a gorgeous cinematic way — all with your smartphone.
And with this simple workflow, you’ll avoid most of the anxiety and frustration that comes with capturing those amazing visuals you see online.
But before we get going on the steps, let’s get crystal clarity on what a montage is and how it’s used.
To do so, we’re going to reference a montage sequence from the action, sci-fi, mind bending masterpiece “TENET”.
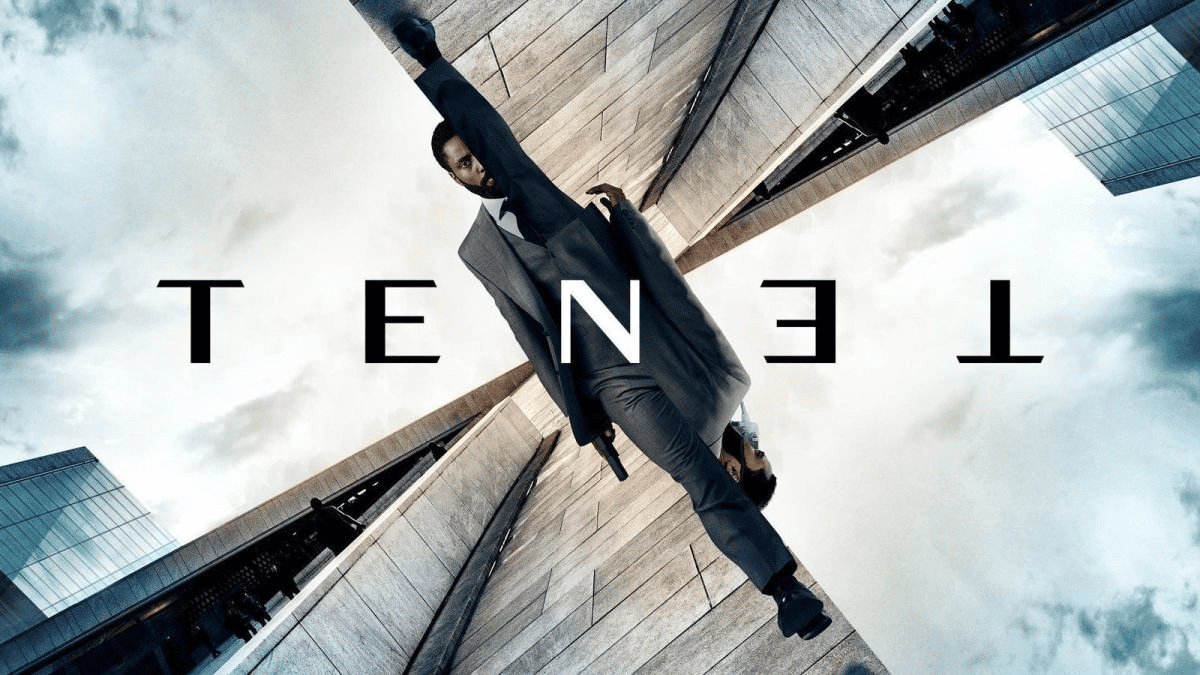
⚡A quick rundown on montages
Most montages appear as cut away scenes from the main action of a story.
The functions of a montage is mainly to:
- Provide context
- Provide Backstory
- Explain Something
- Shows the passage of time
- Provide key visual references
- Simply provide stunning visuals
This sequence of the main characters planning a heist accomplishes all 6!
👇🏾Check it out and see if you can spot them in the sequence:
Now understand — this sequence is masterfully constructed by Christopher Nolan, an OG, award winning Hollywood director and millions of Hollywood dollars behind it.
I’m not expecting you to make scenes of this level of complexity as Nolan did — at least not yet 😉
I want you to see how each shot and each sub story on its own is actually simple in execution.
I want you to recognize two SIMPLE things here:
- The series of SIMPLE shots strung together
- The series of SIMPLE stories strung together
When you break a sequence like this down to its simplest parts, you can understand (and possibly replicate) what was done — and wow all your followers and friends.
We’re about to walk through some of the stories and learn how to apply simple stories to capture cinematic montages for your own videos.
You can learn the simple shots used in 90% of cinematic montages for FREE (Secrets 13 – 17) in The Smartphone Filmmaker Pocket Guide.
⚡Let’s dive in:
The key to capturing amazing montages is to pre-plan what you’re going to capture before you ever push the record button.
❌As tempting as it may be, don’t attempt to just “wing-it” and capture montages on the fly.
Capturing montages on the fly is the type of stuff that takes decades of experience just to do decently — you don’t have decades to get decent.
Make dramatic improvements in a matter of days (rather than years) by writing simple stories first.
Here’s how to do it:
⚡Step 1:
Take 10 minutes to write out the simple story you want to tell.
NOW when I say simple, I mean SIMPLE.
“First this, then this and finally this.”
Keep the story super simple so you can focus on capturing amazing visuals to tell the story.
REMEMBER: You want to keep it simple because you’re shooting with your smartphone and gimbal — don’t get too extravagant (or out of your league) — you don’t HAVE to in order to get amazing visuals.
💡Here’s the template to use:
{Person(s)} {does an action}.
Then he/she {does another action}.
And finally he/she {does final action}.
The end.
Seriously.
90% of most complex sequences in Hollywood films are built upon the building blocks of simple stories like this👆🏾.
Here’s one of the simple stories found in the TENET sequence you just watched:
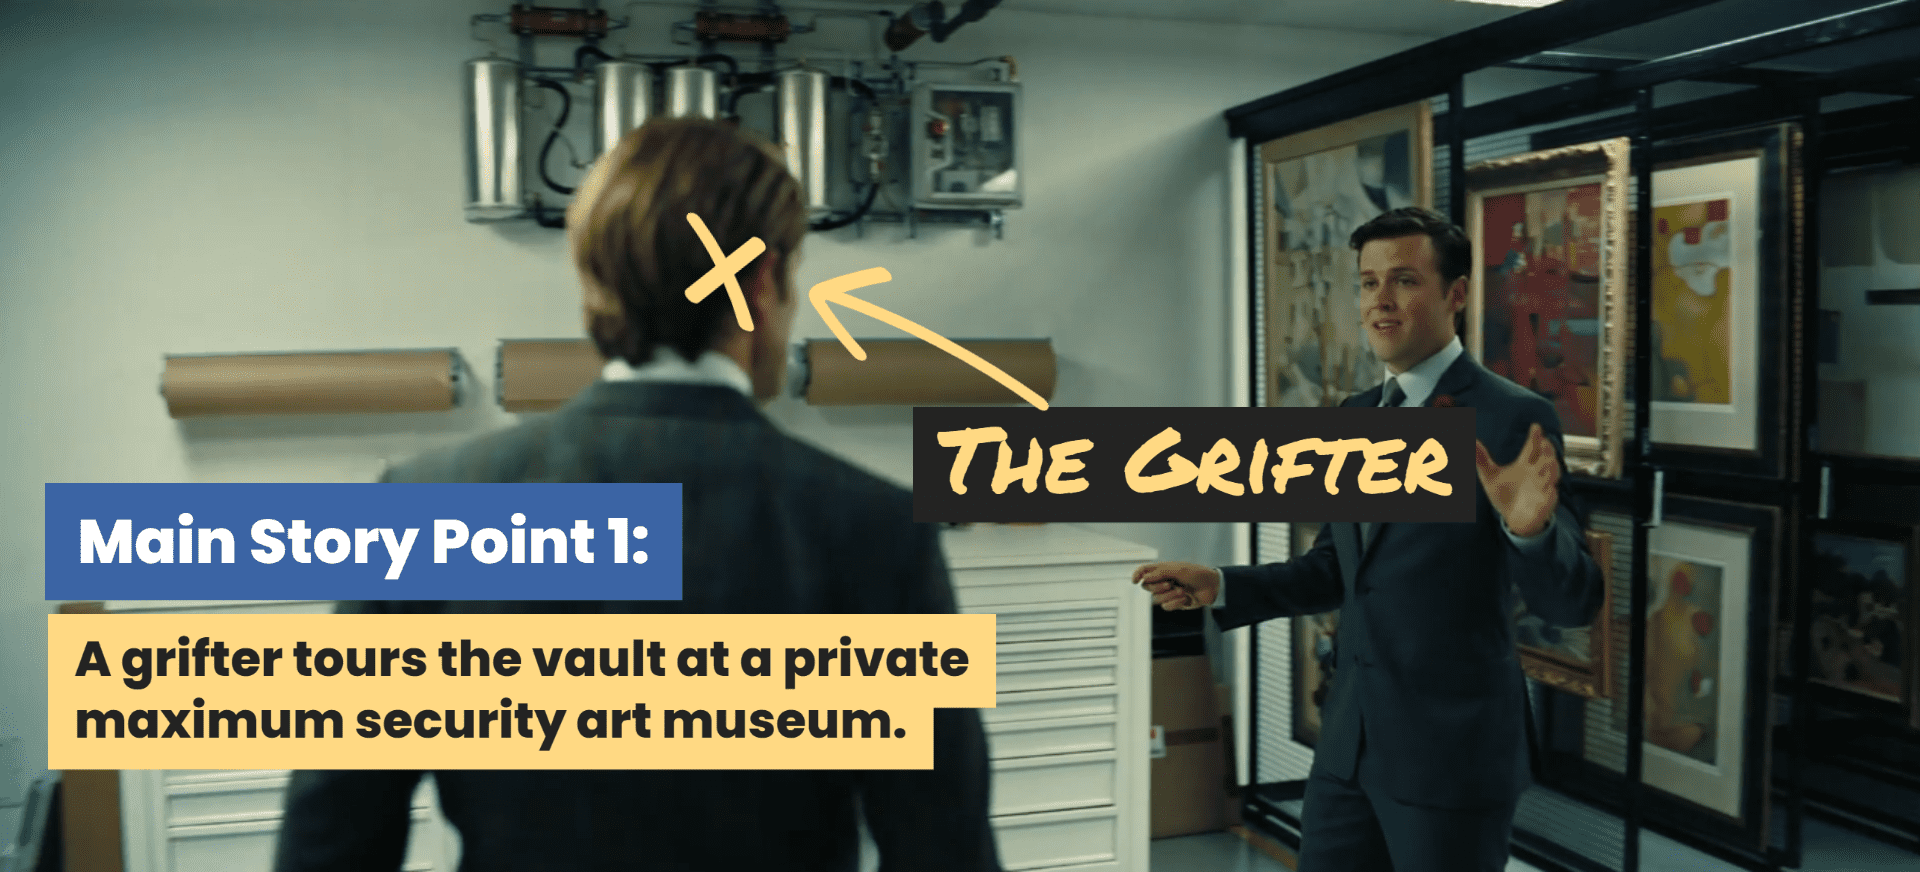
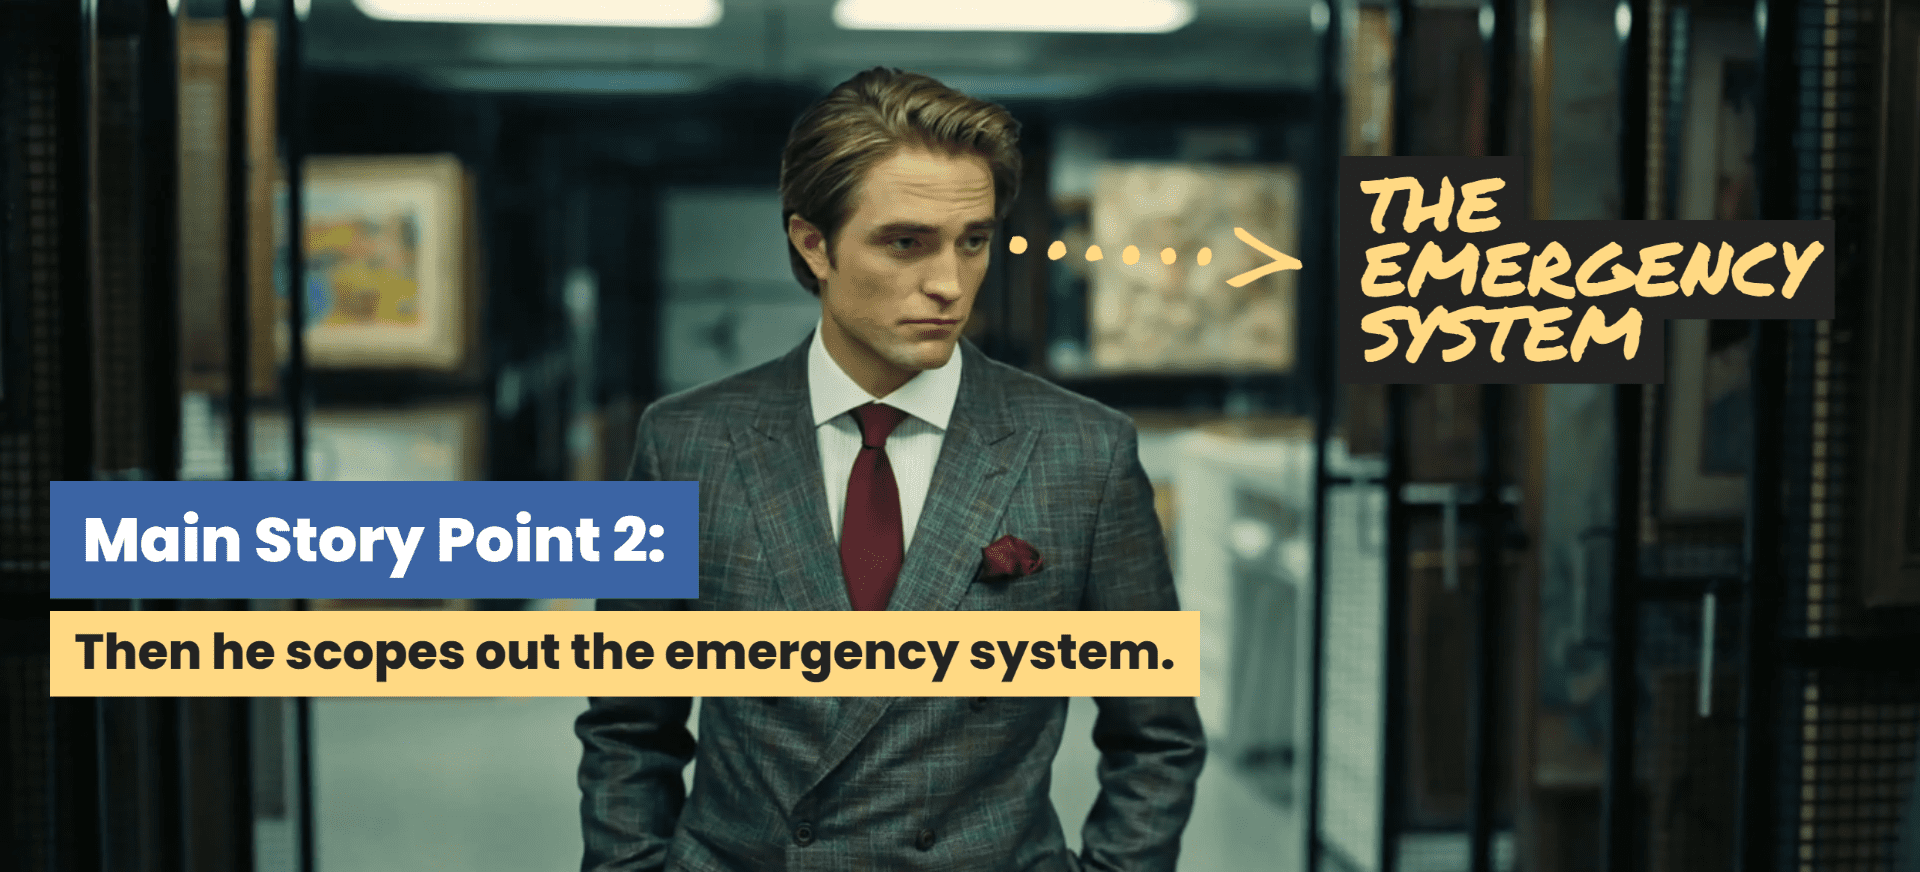
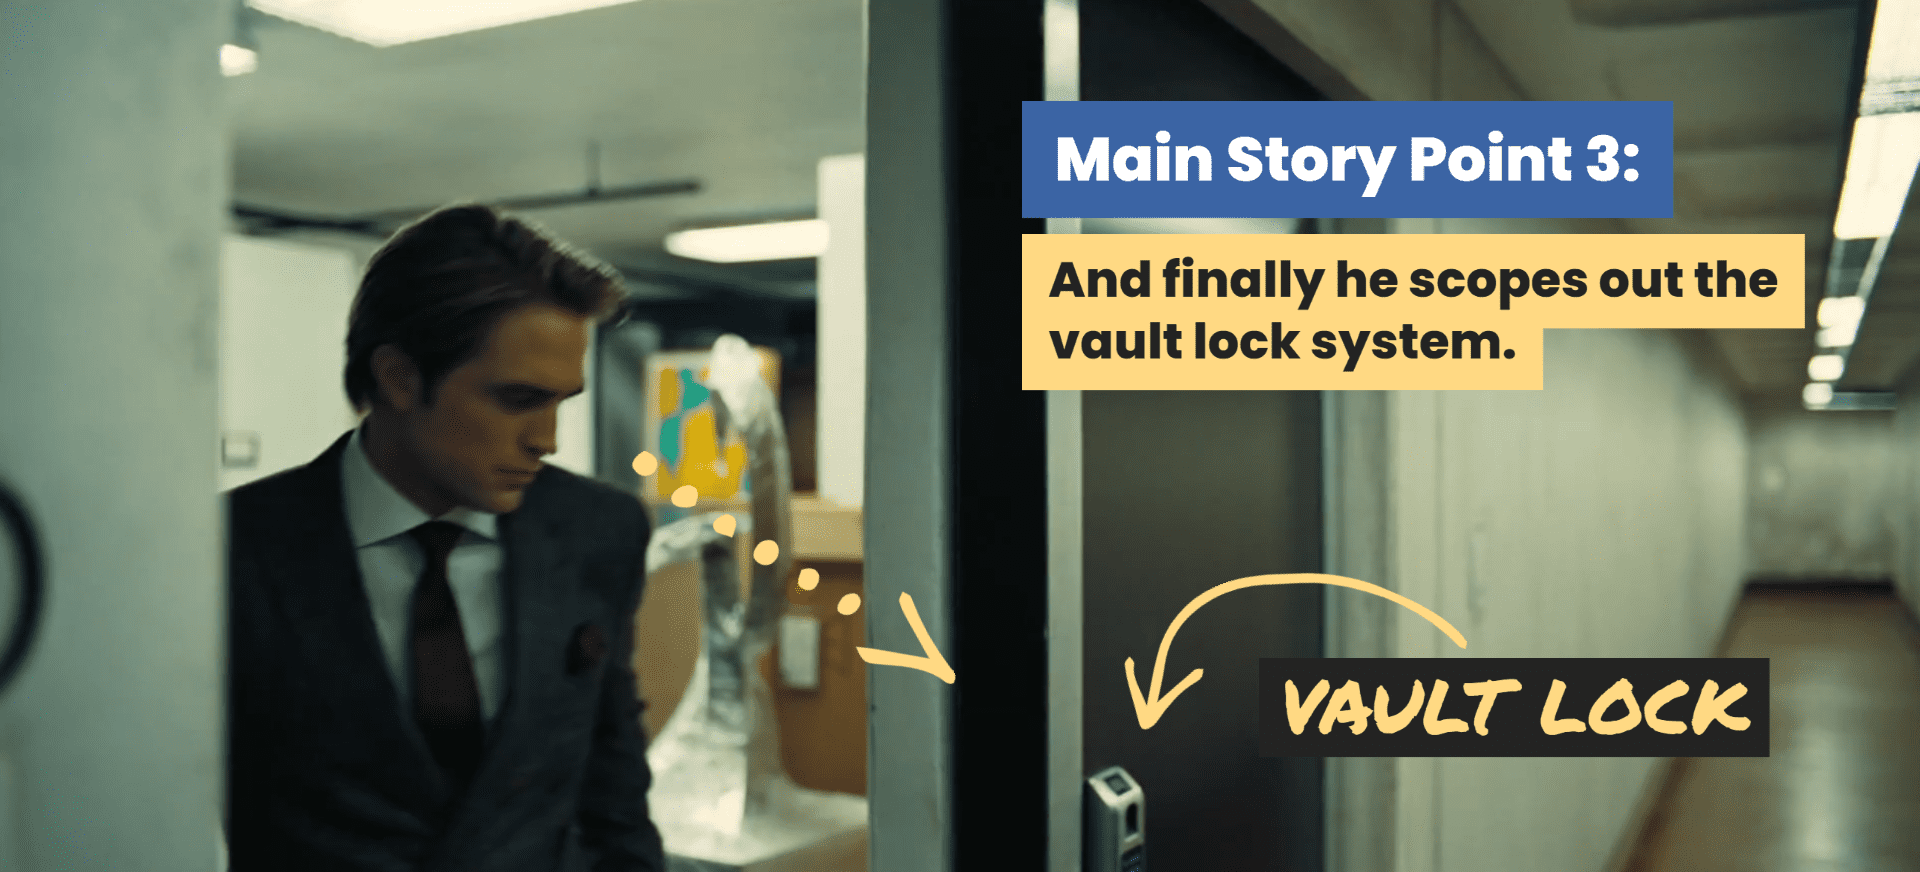
See how simple that story is?
On-screen that story took 28 seconds to tell and is completely engaging to watch.
Nolan stitches together 9 simple stories like this to create an attention-holding montage of dialogue and visual goodness.
💡Here’s another simple story from a visual I shot and directed called “OceanFront 9: Small Town. Big Dreams.”
The story is simple:
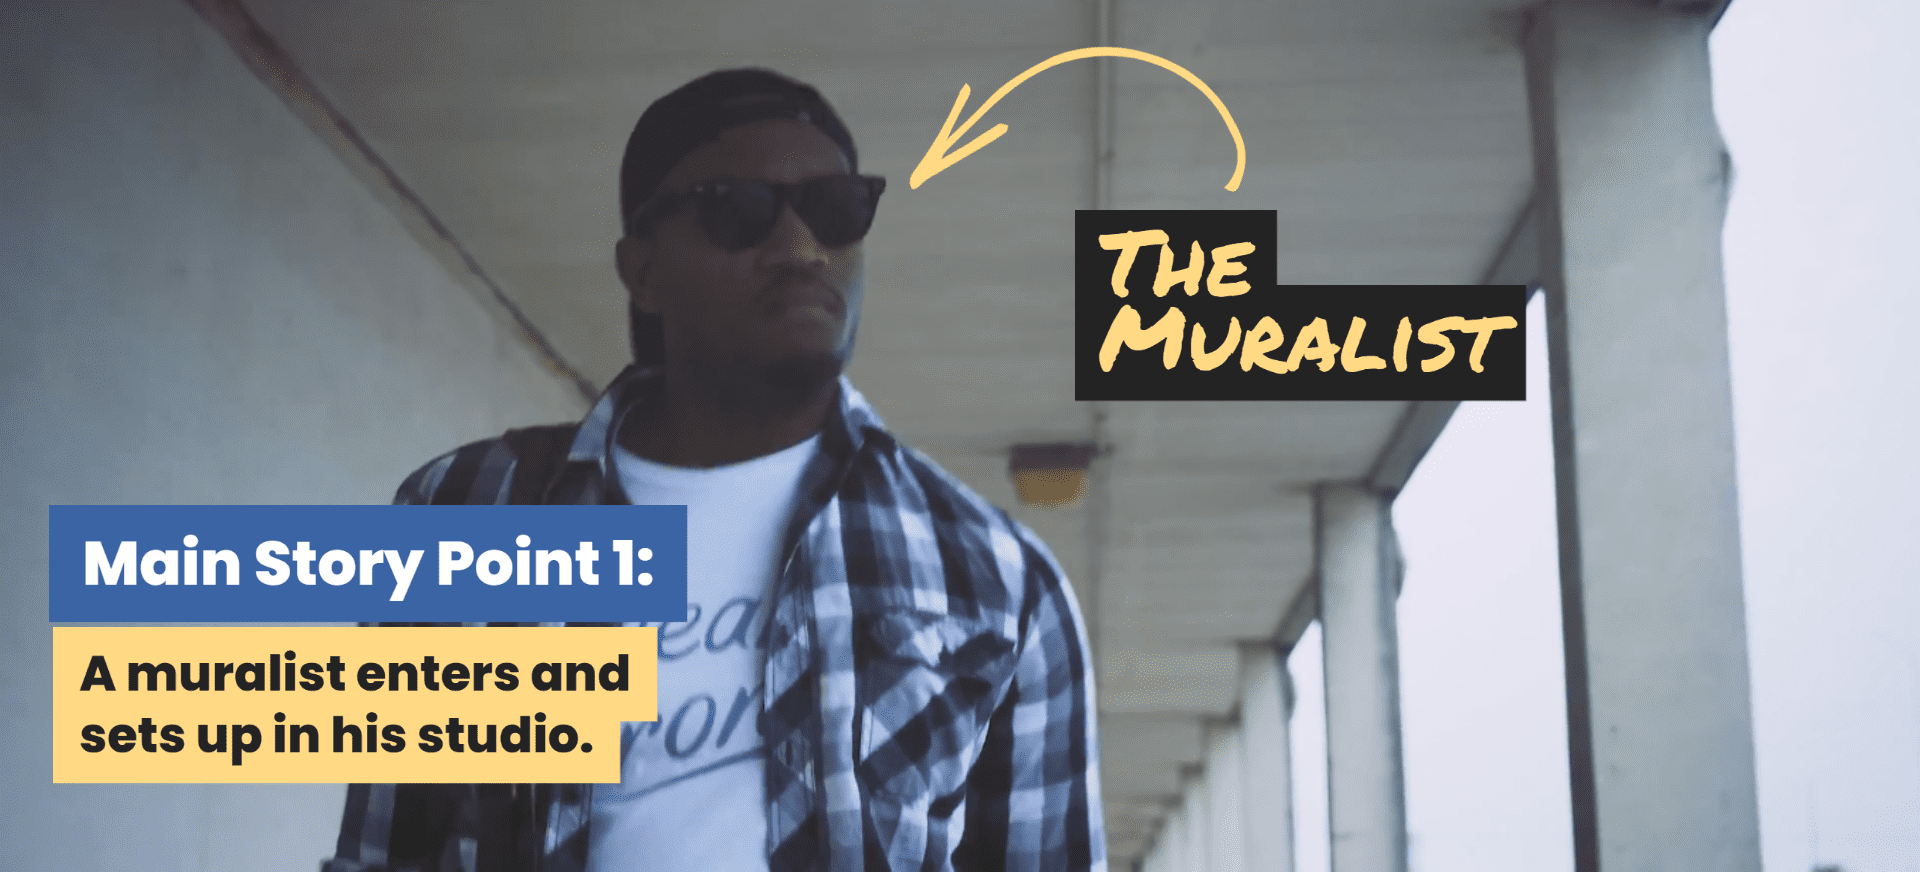
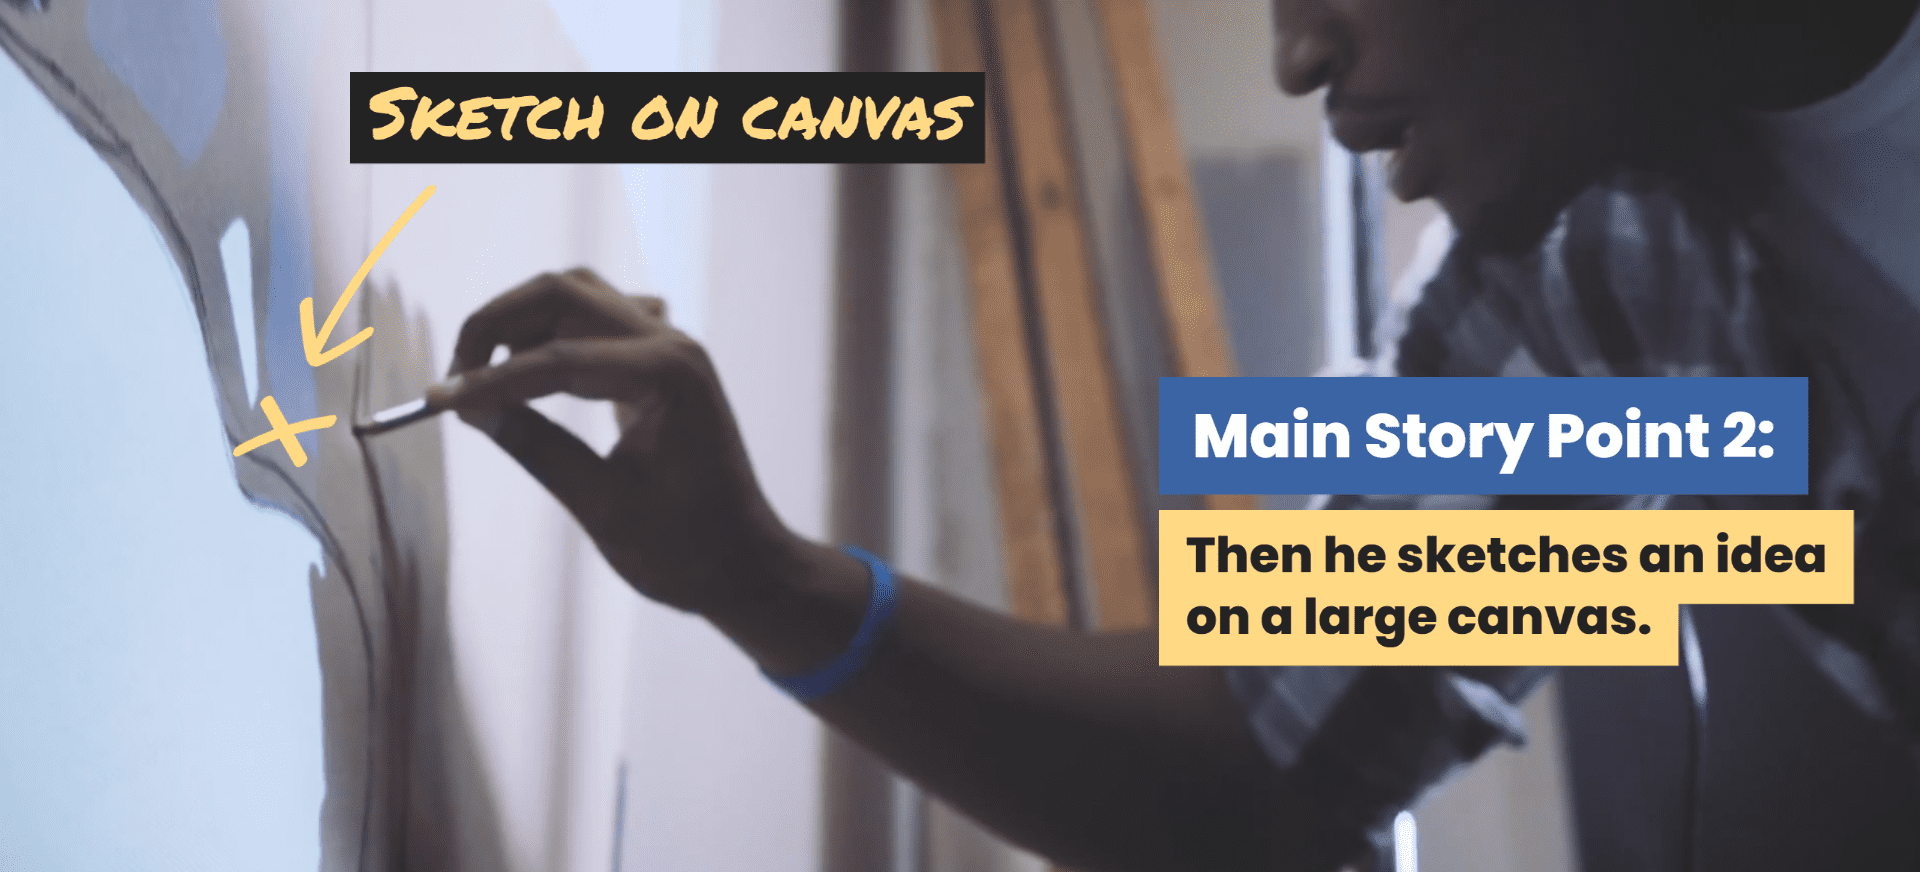
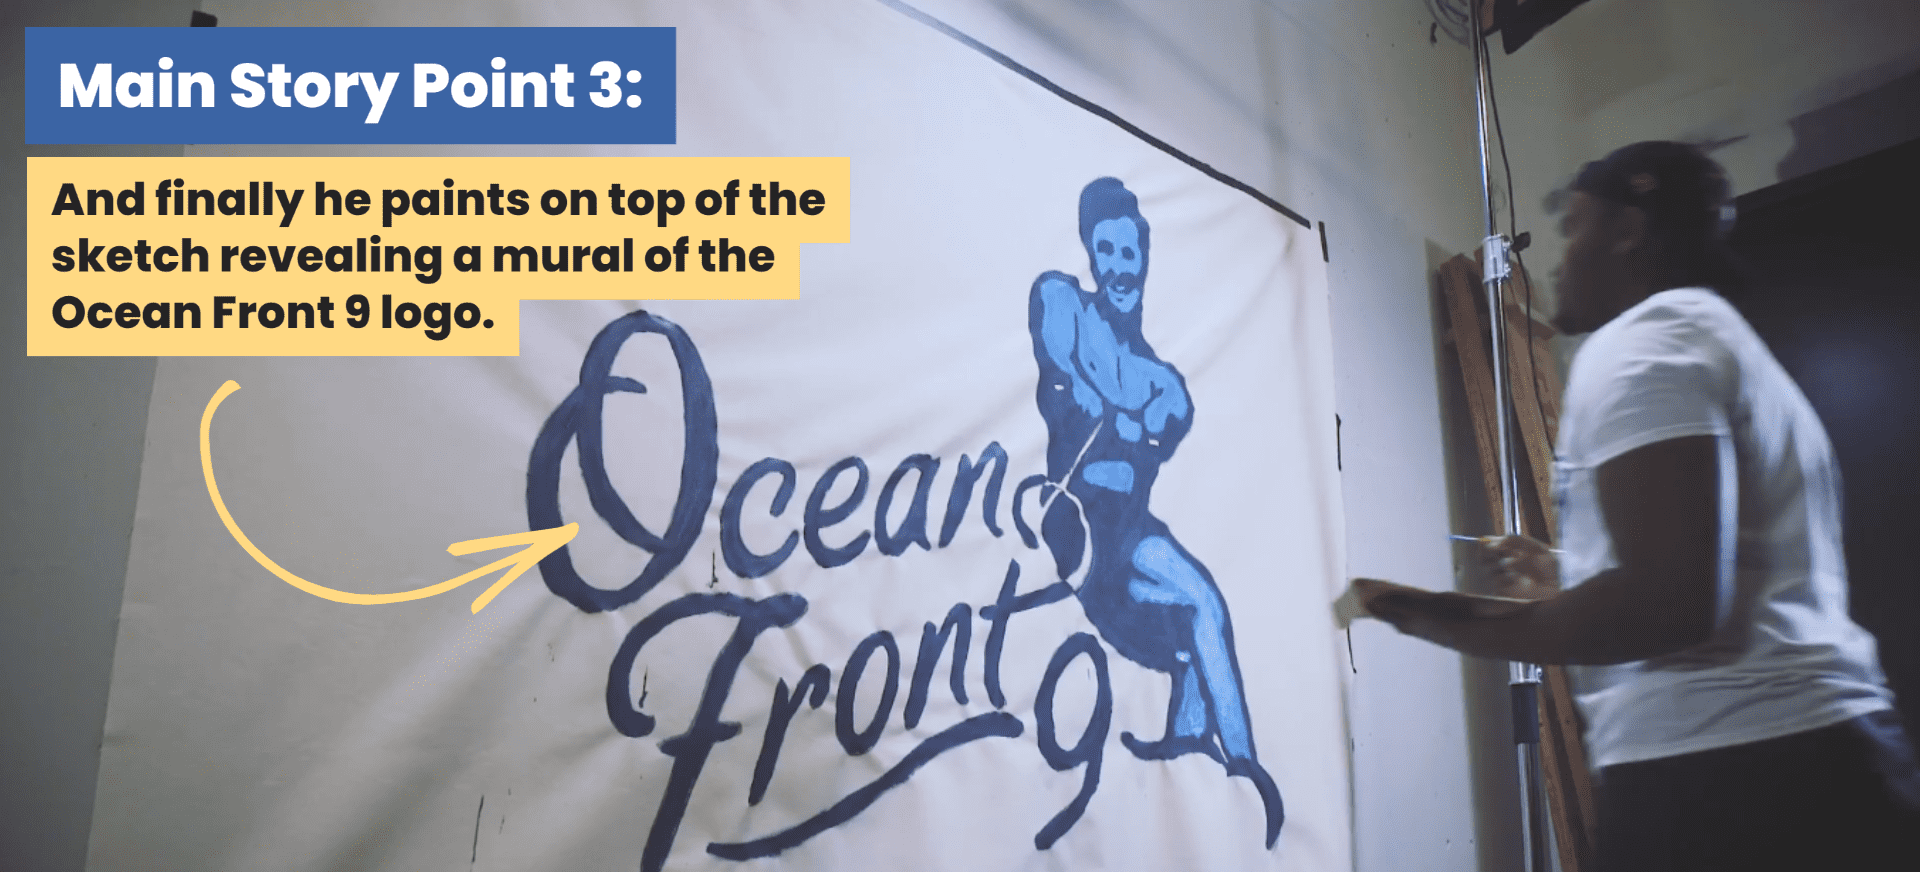
Simple. Story.
💡And although I didn’t shoot this with a smartphone, I’m confident I could have done so without anyone noticing a difference in quality.
⚡So you know for sure there’s at least 3 shots you HAVE to capture for your montage:
- One to show the first action
- One to show the second action and
- One to show the final action
Makes sense? GREAT!
Now onto the next…
⚡Step 2:
Write out the details of your simple story montage.
Think, “What are the additional details that need to be captured to tell the full story of your montage?”
These are the additional shots you’d want to work out NOW, BEFORE you’re actually recording.
💡These shots (known as B-roll) add the needed texture that makes those viral visuals you see so captivating — you don’t want to look away because you don’t want to miss a piece of these stories.
Let’s return to the simple story from Tenet:
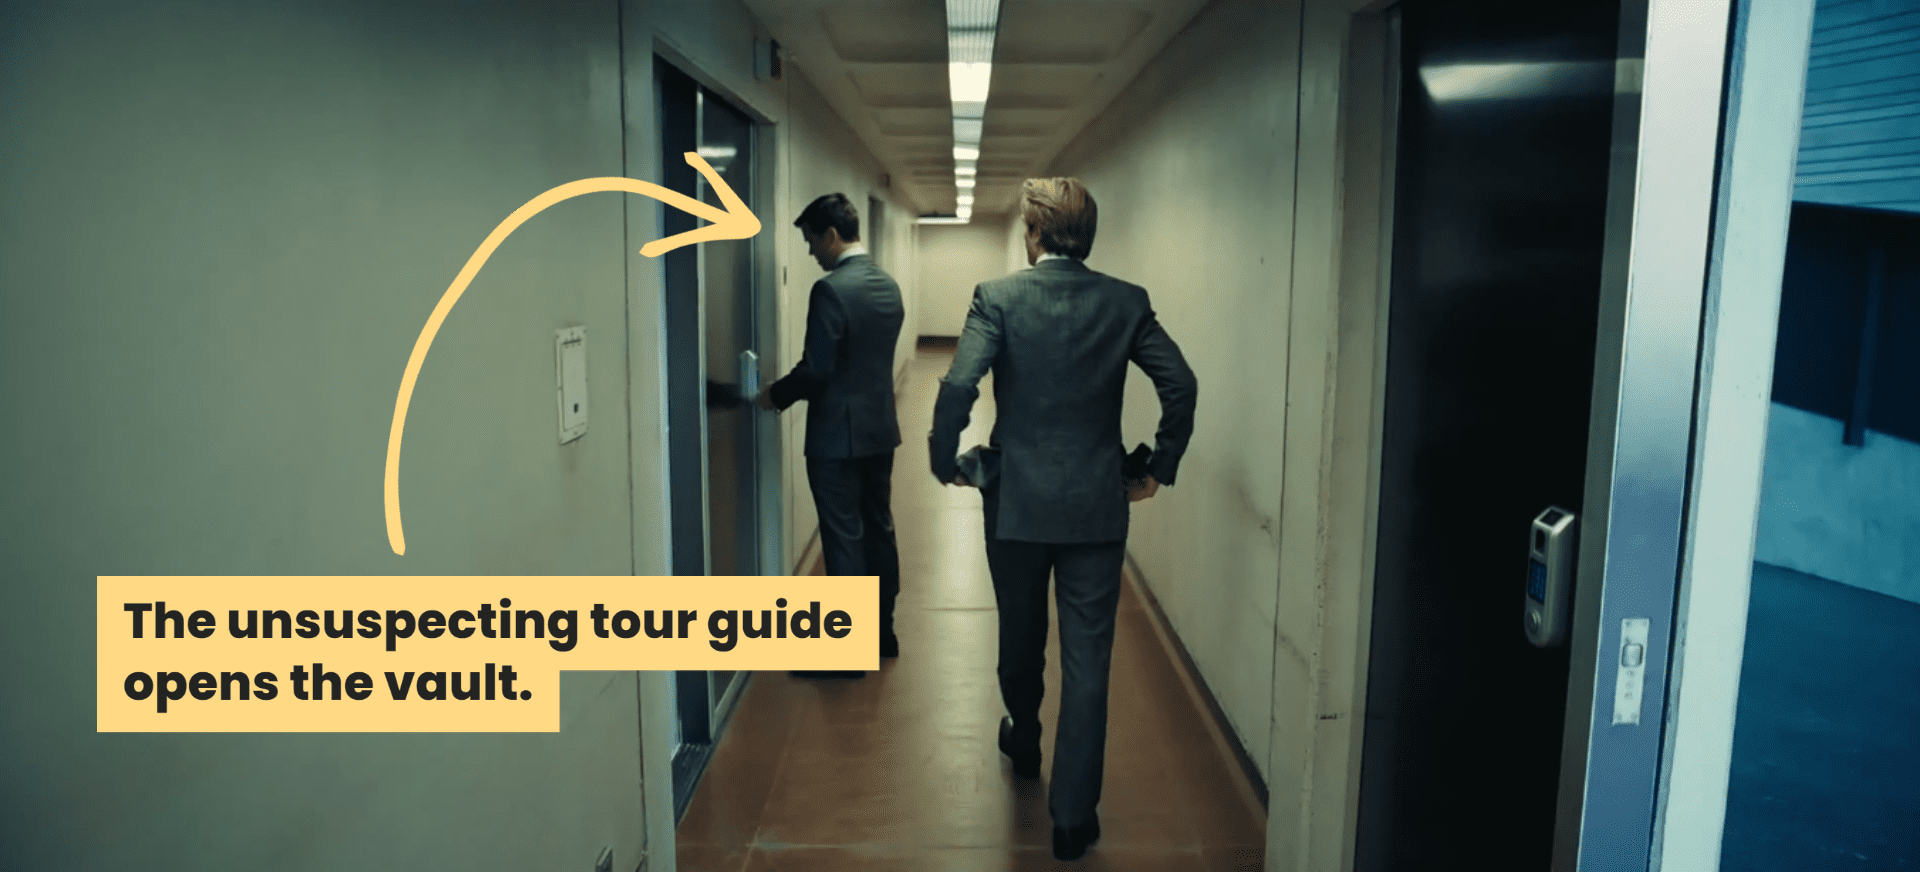
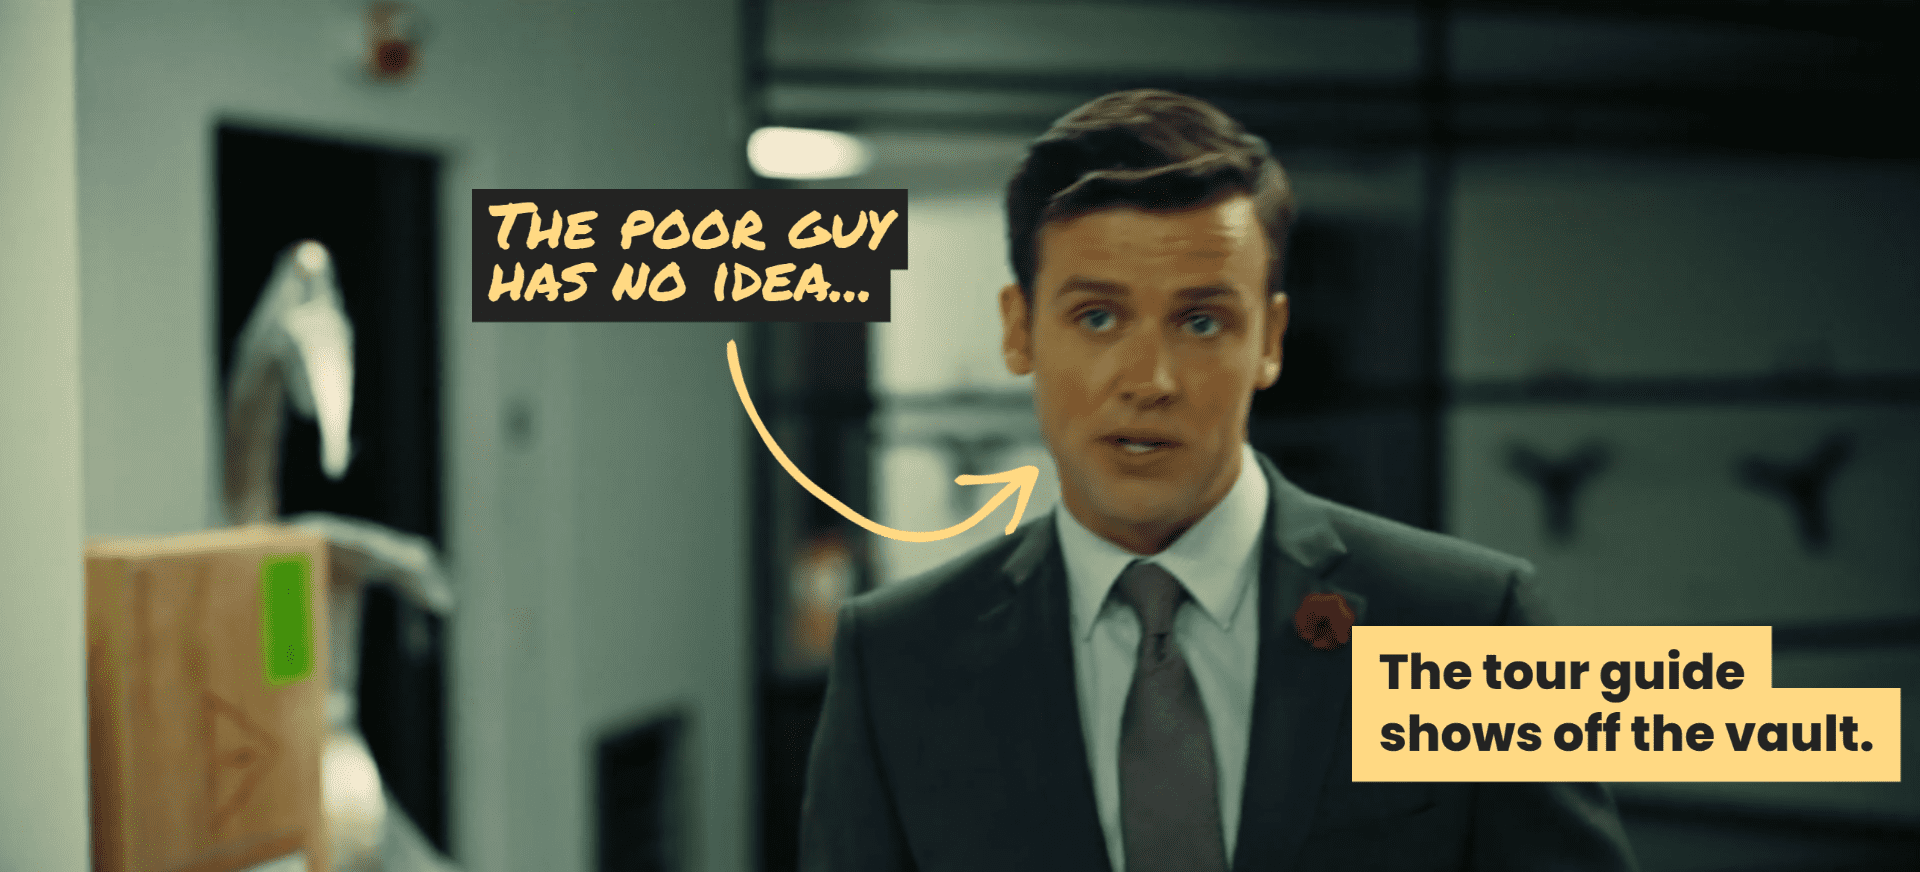
A grifter tours the vault at a private maximum security art museum.
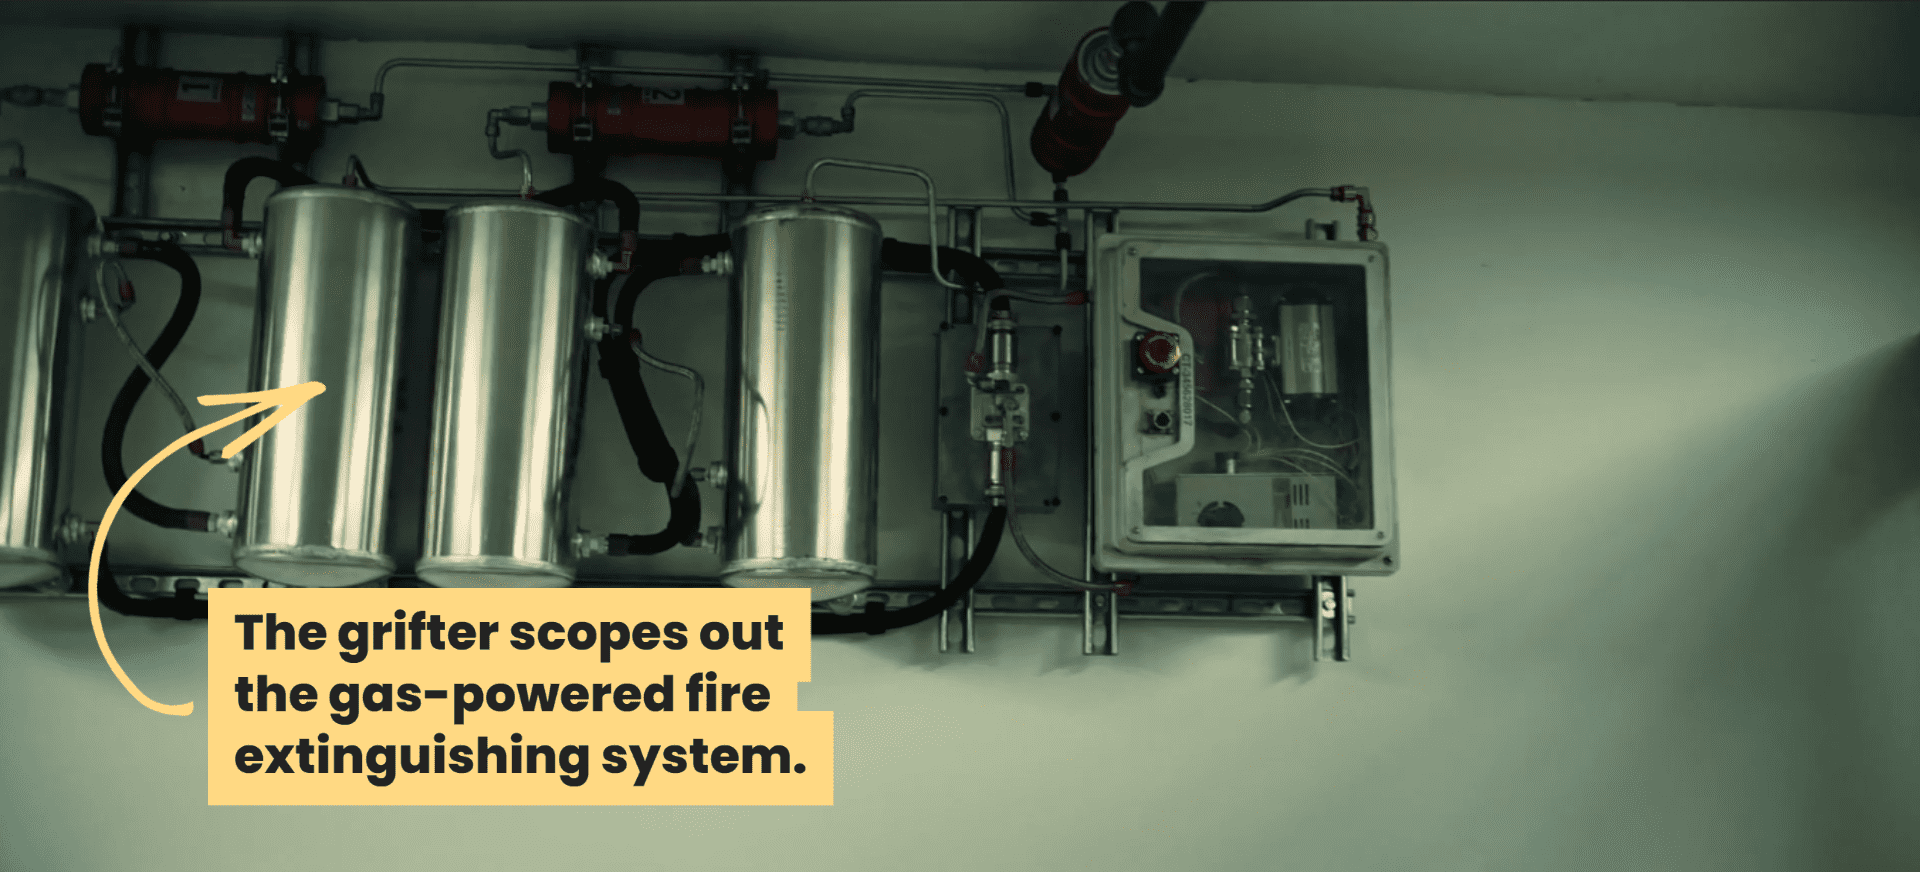
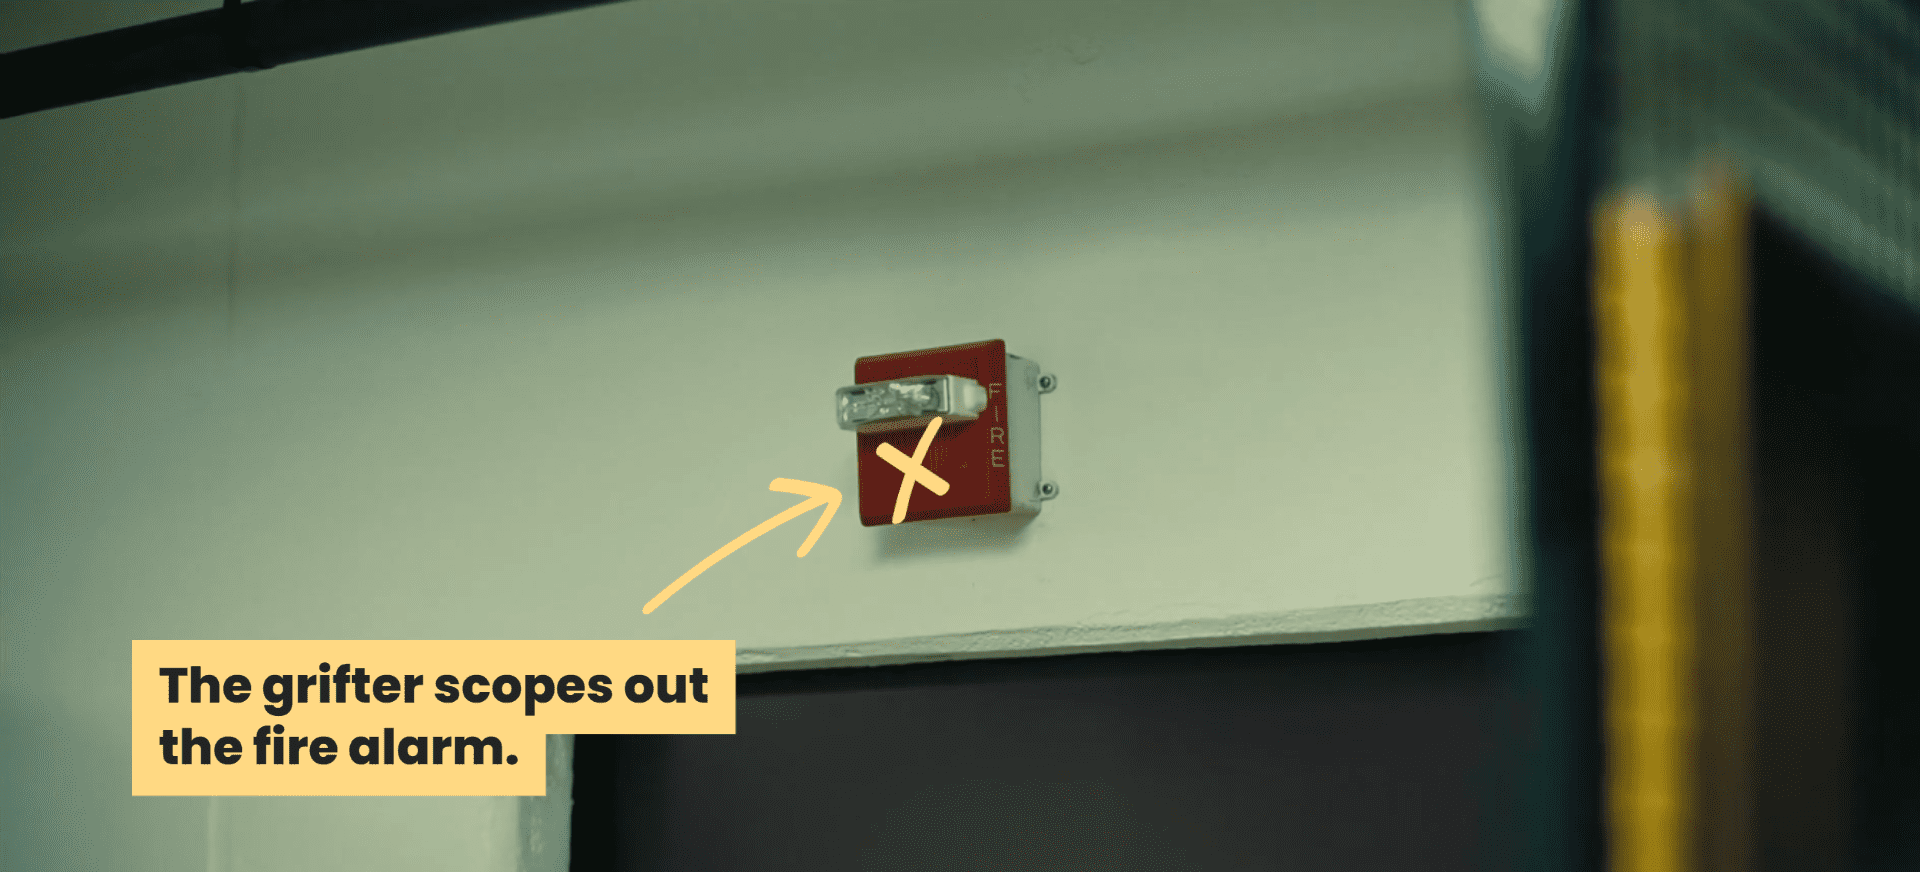
Then he scopes out the emergency system.
And finally he scopes out the vault lock system.
What additional footage would you need to capture to tell this story completely?
Let’s write it out:
A grifter tours the vault at a private maximum security art museum:
Then he scopes out the emergency system:
And finally he scopes out the vault lock system:
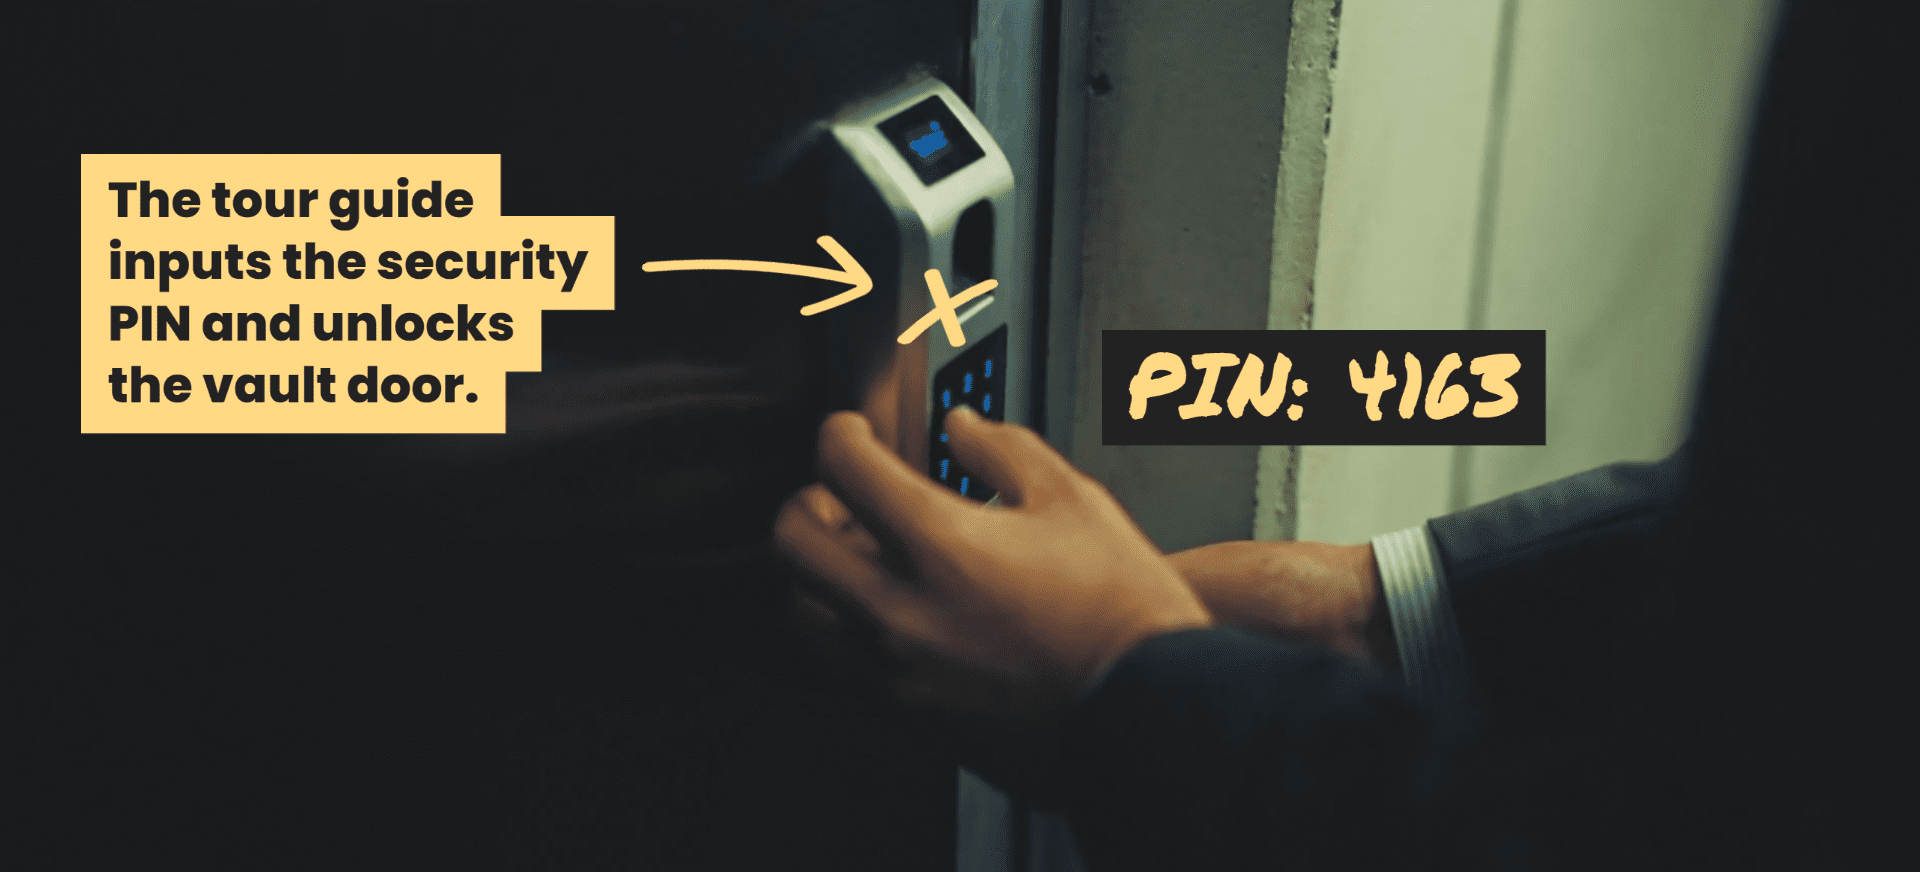
So in addition to the main 3 shots that need to be captured, we’ve introduced another 5 shots Nolan needed to tell his story.
Boom. It’s that simple.
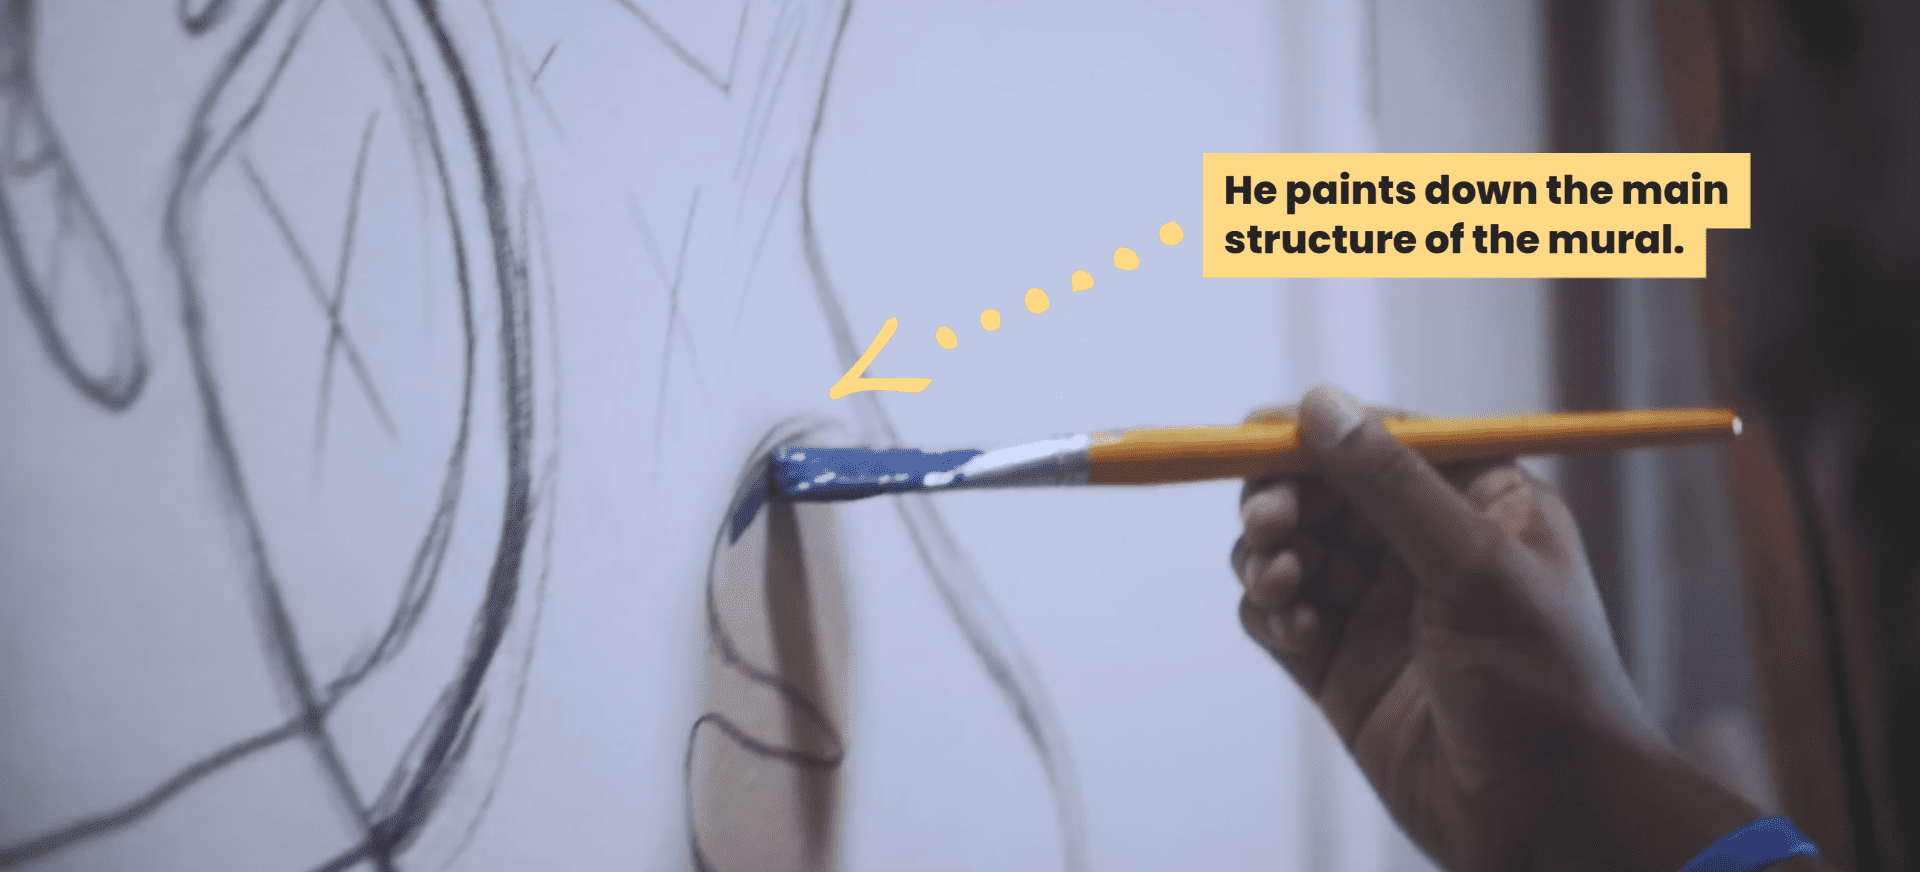
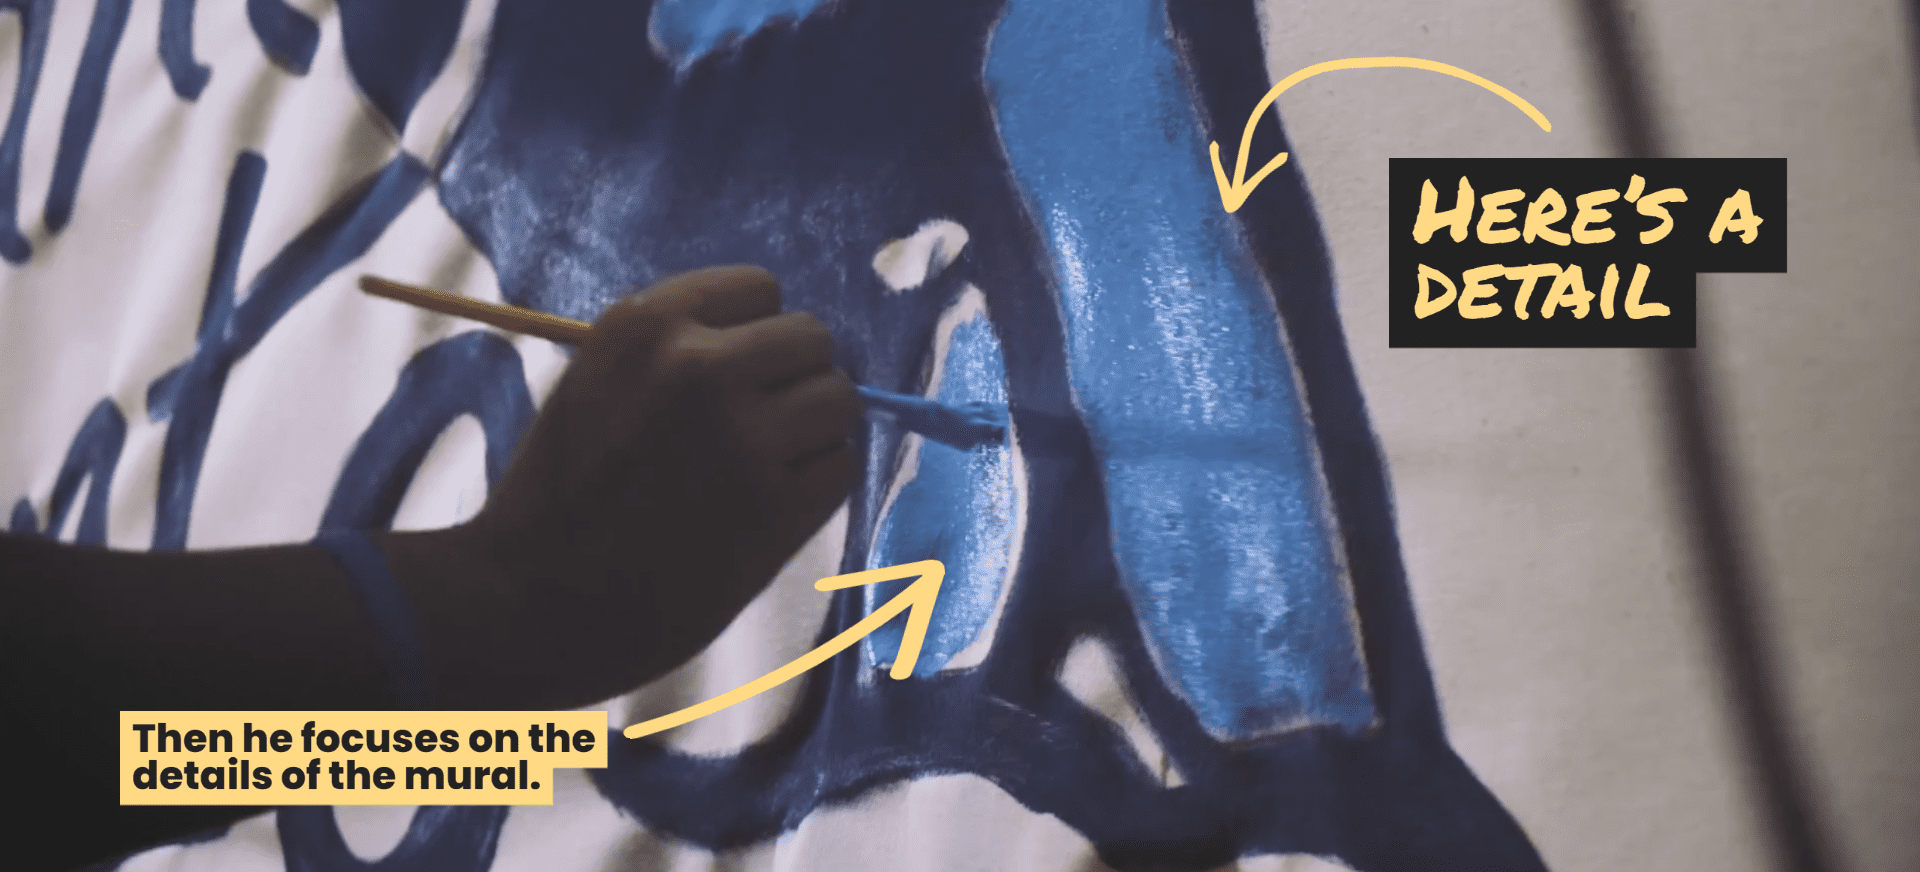
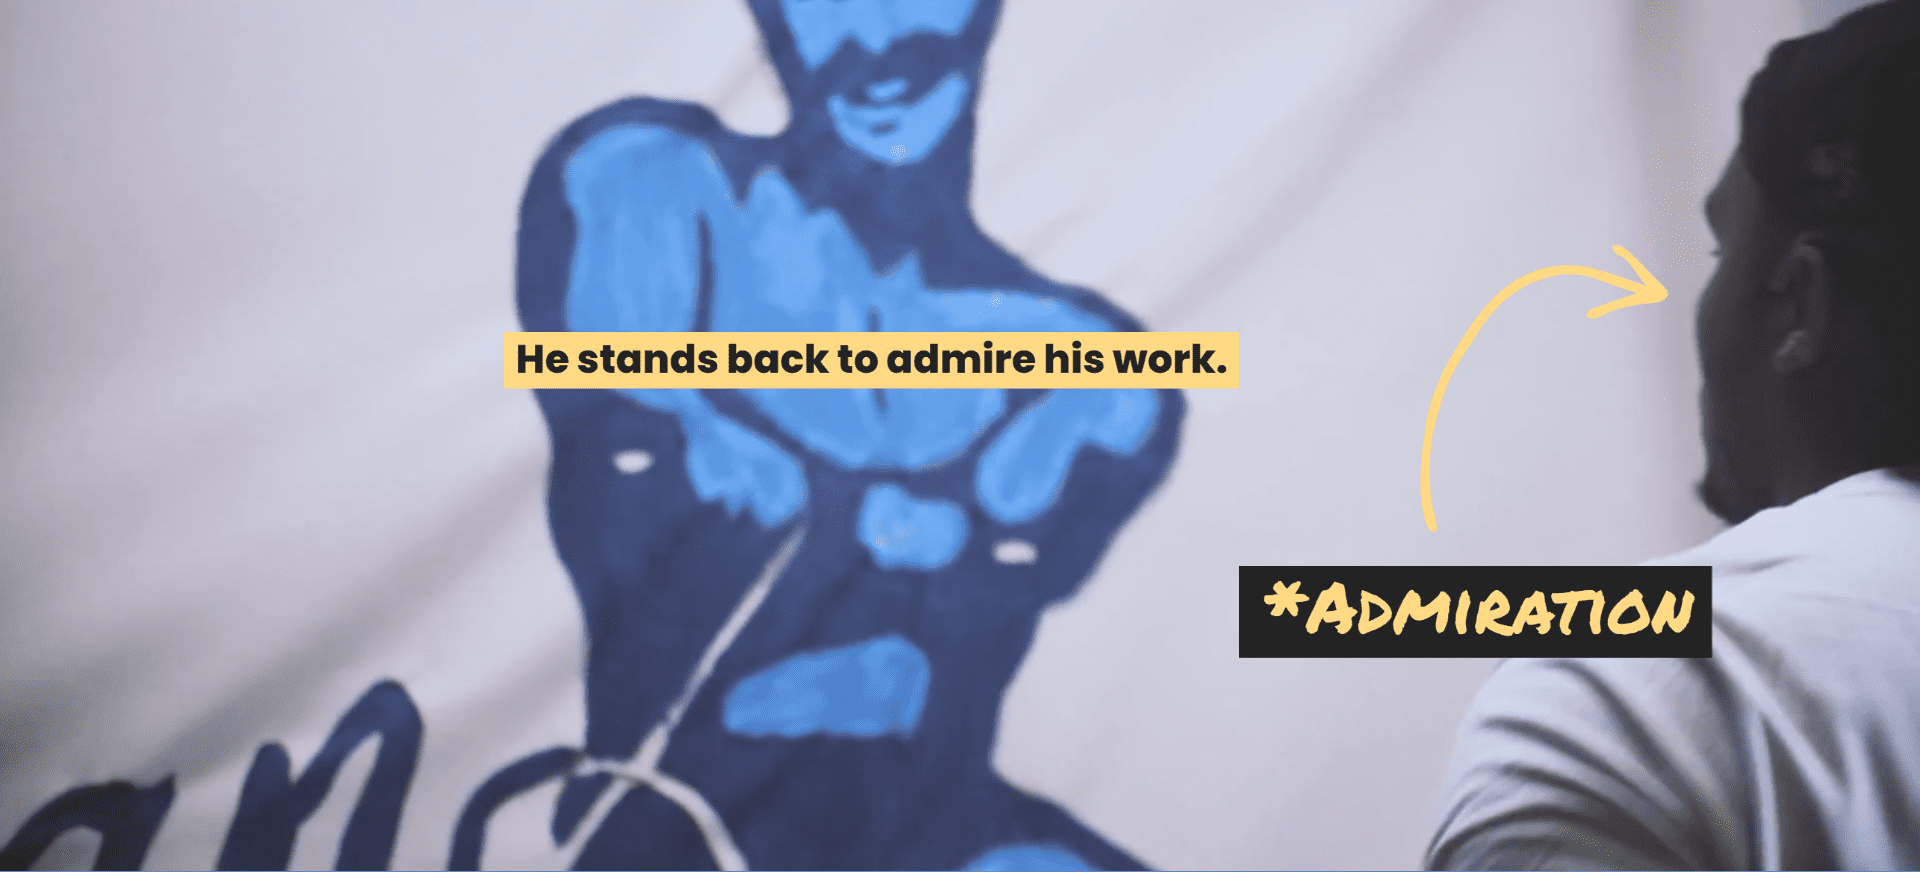
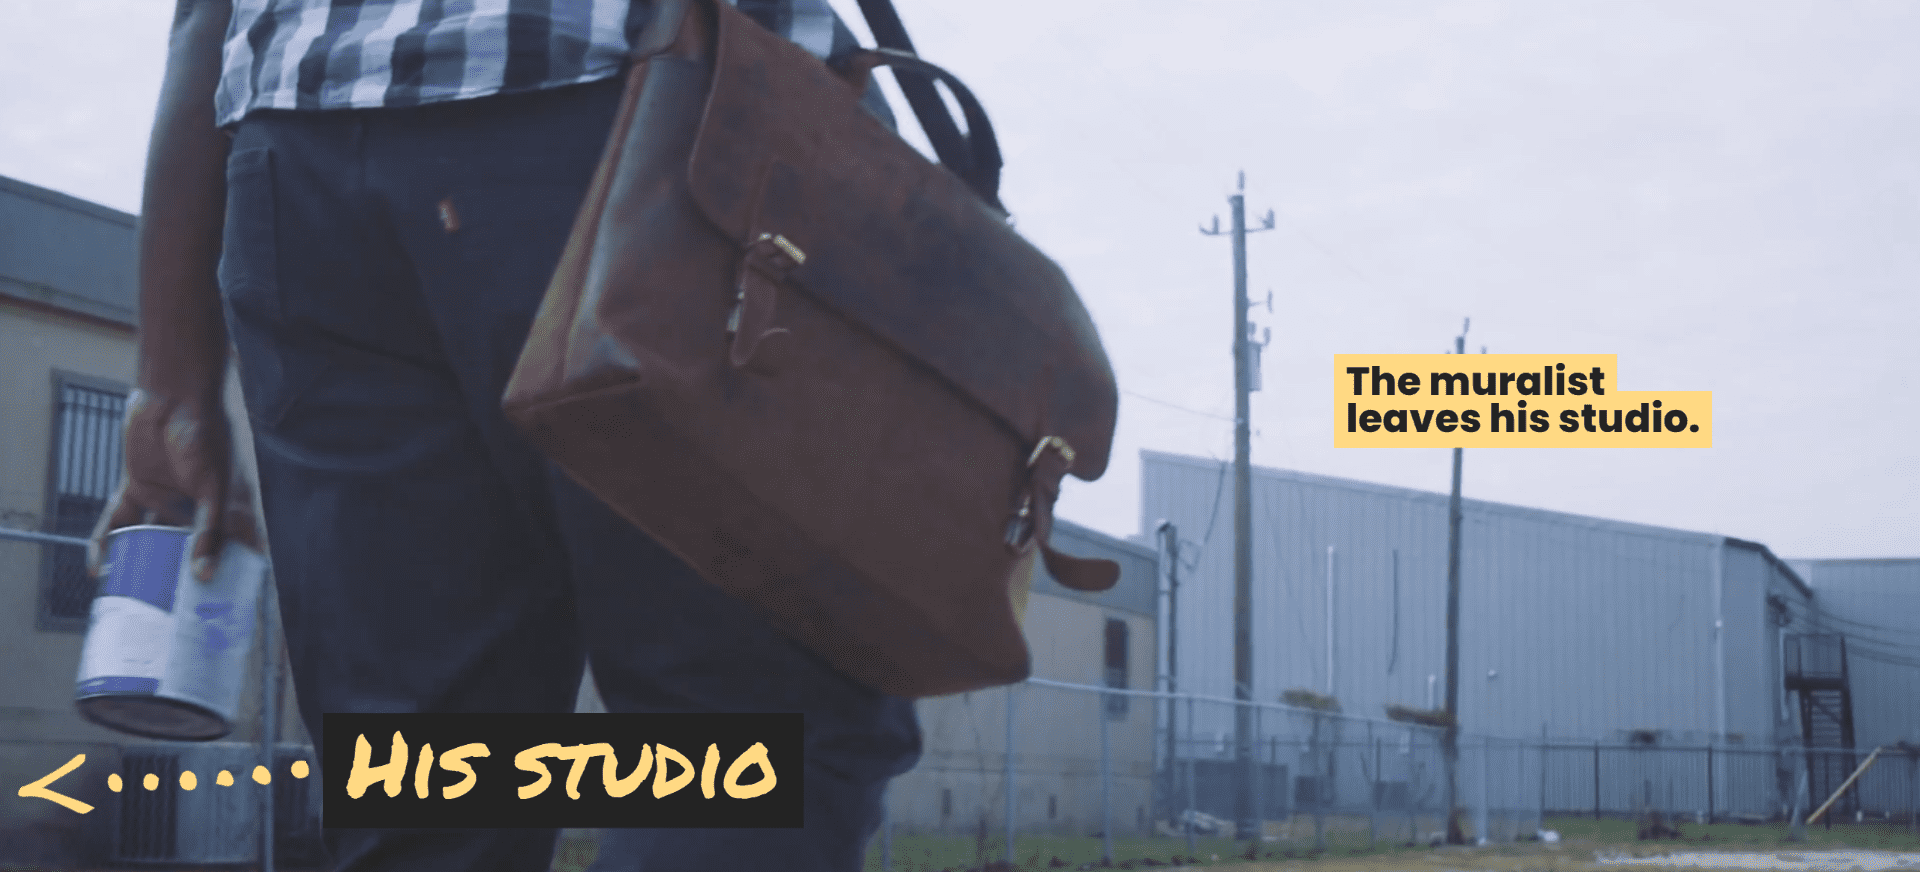
Let’s try this on my Ocean Front 9 visual:
A muralist enters and sets up in his studio:
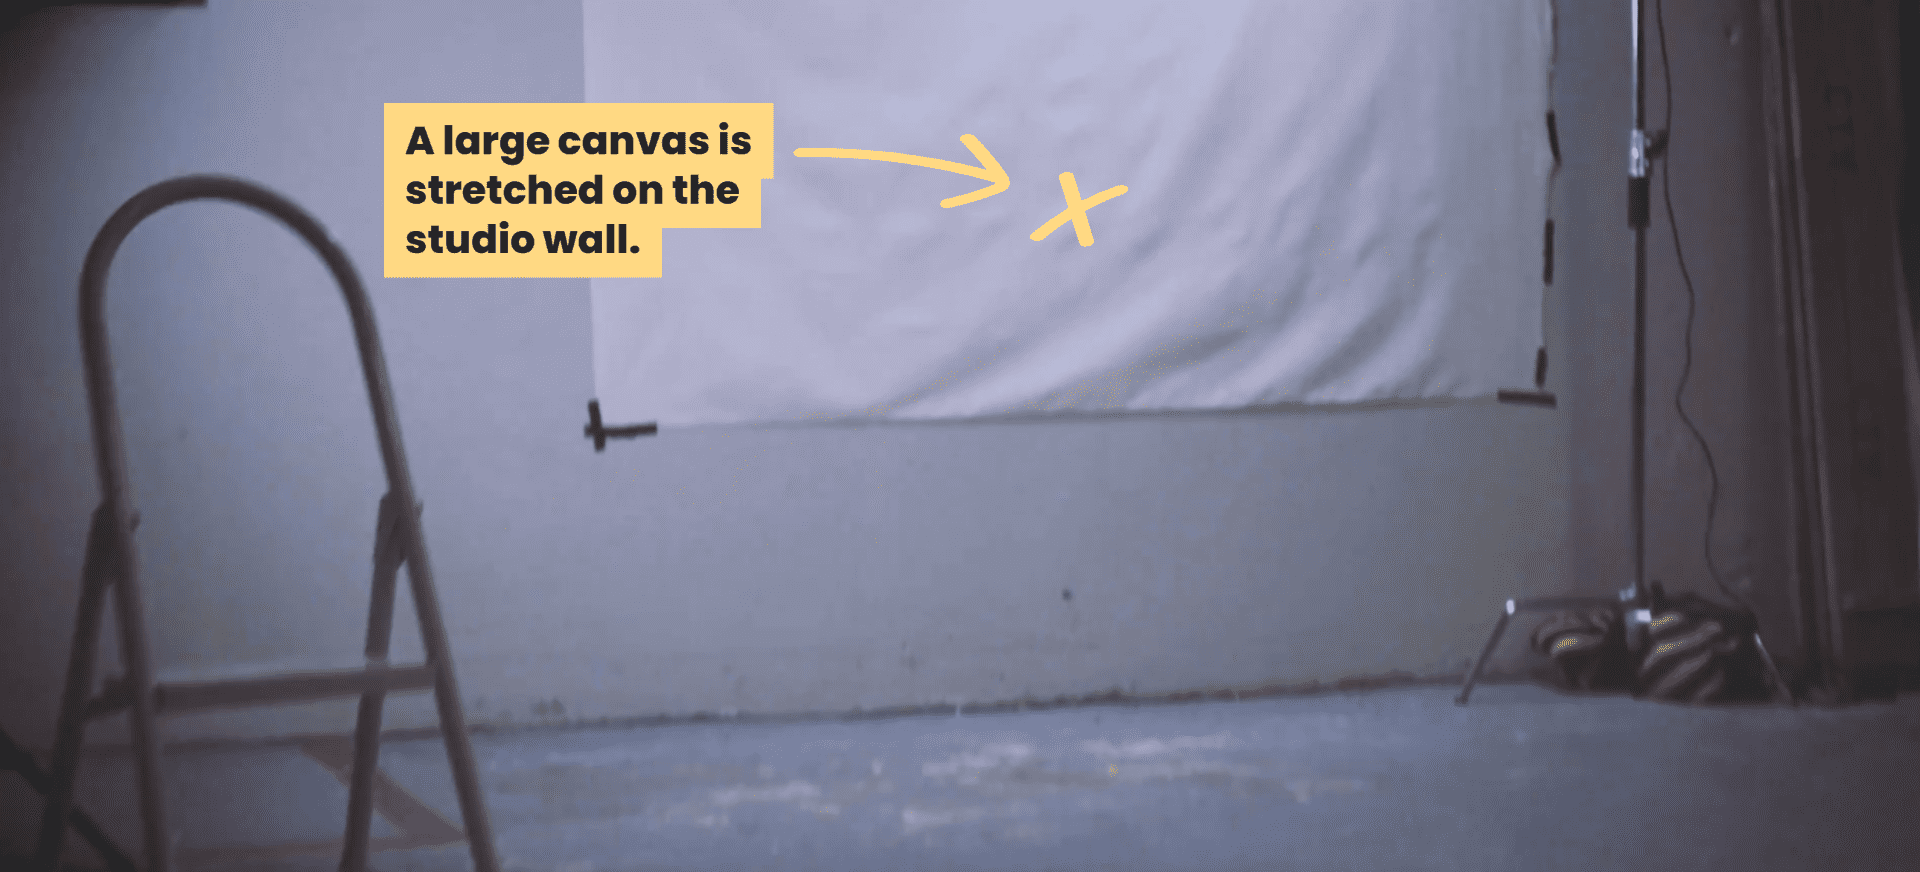
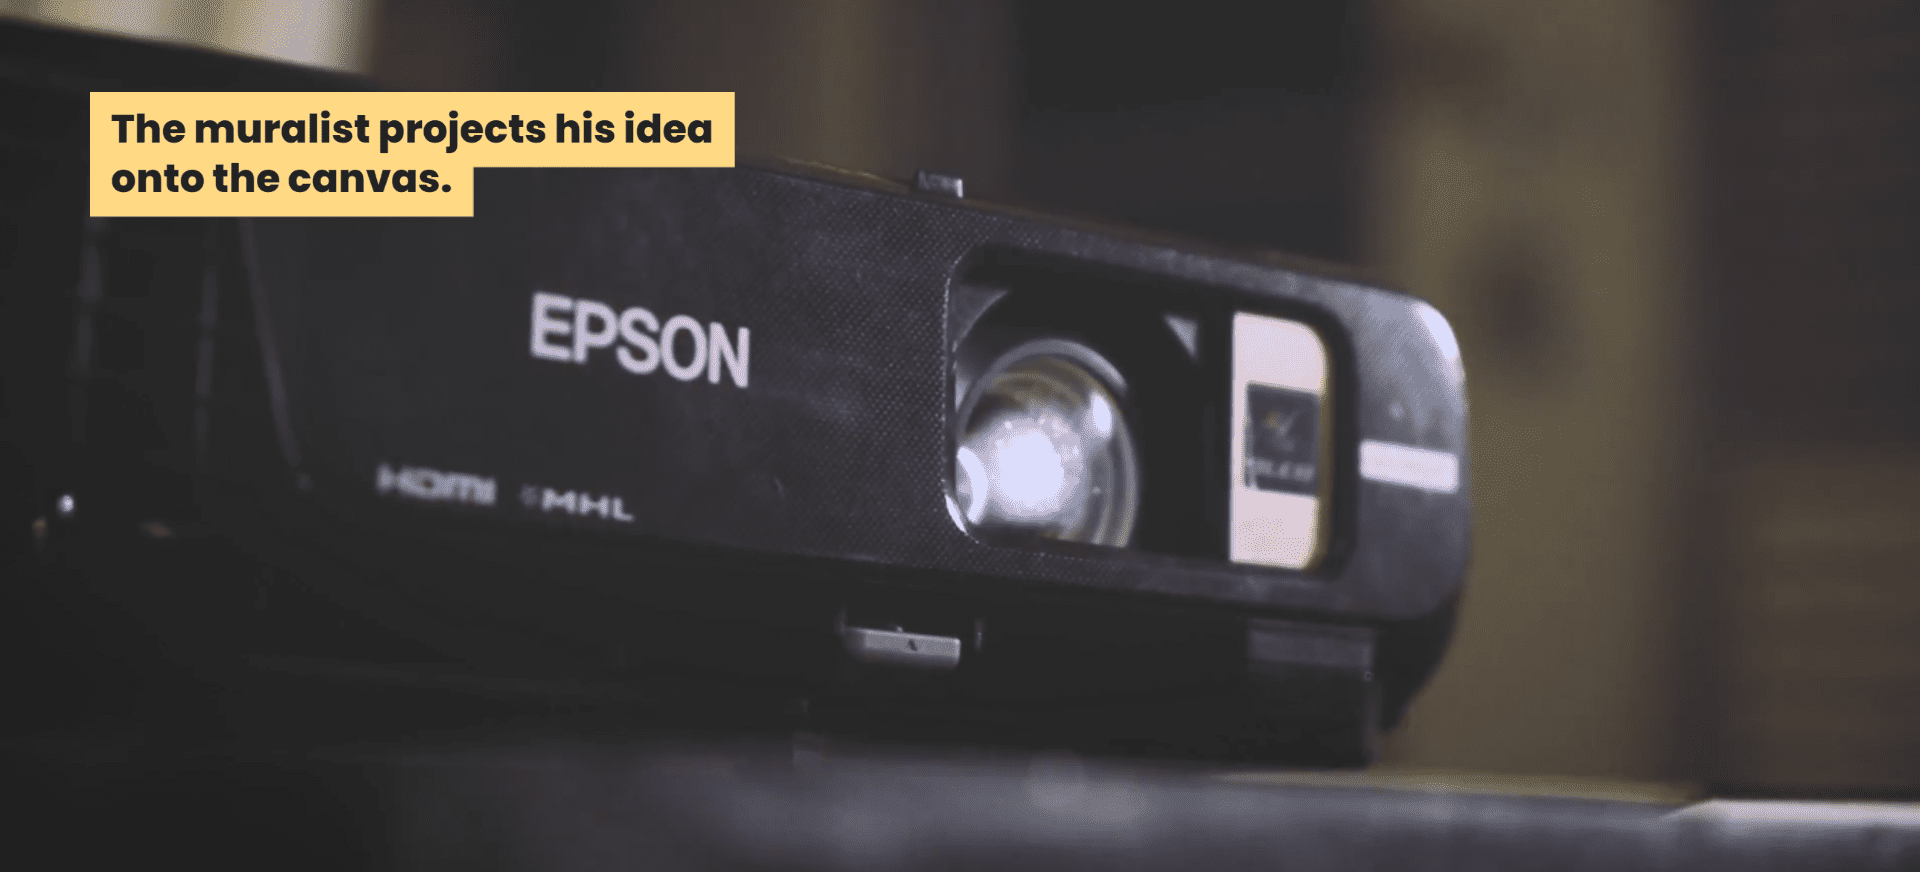
Then he sketches an idea on a large canvas:
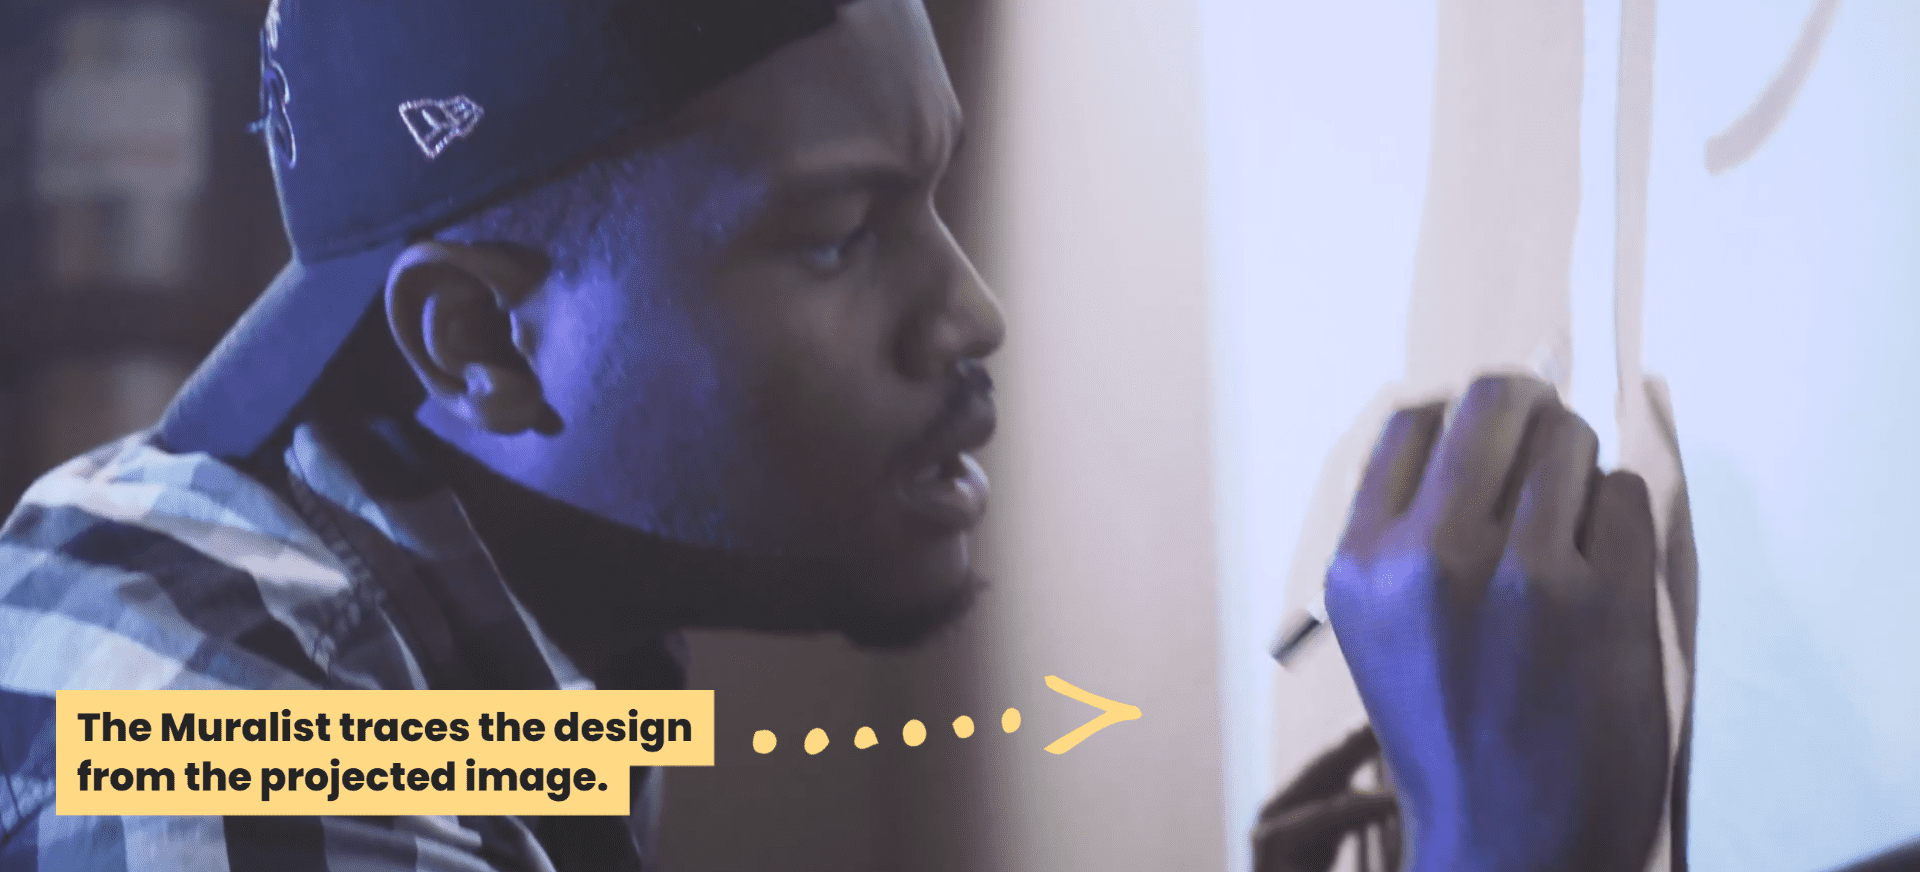
And finally he paints on top of the sketch revealing a mural of the Ocean Front 9 logo:
No matter if you’re a Hollywood legend or a no-name amateur — going into a shoot already knowing what you need to capture makes the final results 10x greater.
Now onto the final step — it’s time to shoot!
⚡Step 3:
Shoot your montage (and take advantage of Inspiration)
Now that you have your simple story and a list of what details you need to capture, you’re ready to shoot!
💡Make sure you have your “shot list” saved on your phone – you can use a simple notes app or todo list app to accomplish this.
So here’s the game plan:
Capture EVERYTHING that is on your shot list — that’s it (simple right?).
Most get caught up HERE when it comes to shooting:
- what angles do I shoot?
- what camera movements?
- what lens?
(sigh)
All of this 👆🏾 (the technical stuff) becomes simple, once you craft a simple story.
💎FREE RESOURCE: Get access to 17 secrets that answers many of the technical questions beginners have about smartphone filmmaking. Get The Smartphone Filmmaker Pocket Guide now!
Something amazing happens when you come prepared to create…
The act of recording inspires additional creative ideas.
You should expect and plan for this to happen, EVERY time.
So if you think your shoot will take 1 hour to shoot, plan for 2 hours.
This leaves more time to explore ideas that you wouldn’t have thought about until you’re there on location.
I can’t speak to what shots in the TENET scene were planned and what were inspired on set, but I can for my Ocean Front 9 visual.
Many of the detail shots and additional angles were thought about and captured on the fly.
REMEMBER: There’s nothing wrong with ideas on the fly — the problem is when you try to wing the entire shoot with ideas on the fly.
Many of my favorite moments happen on the fly:
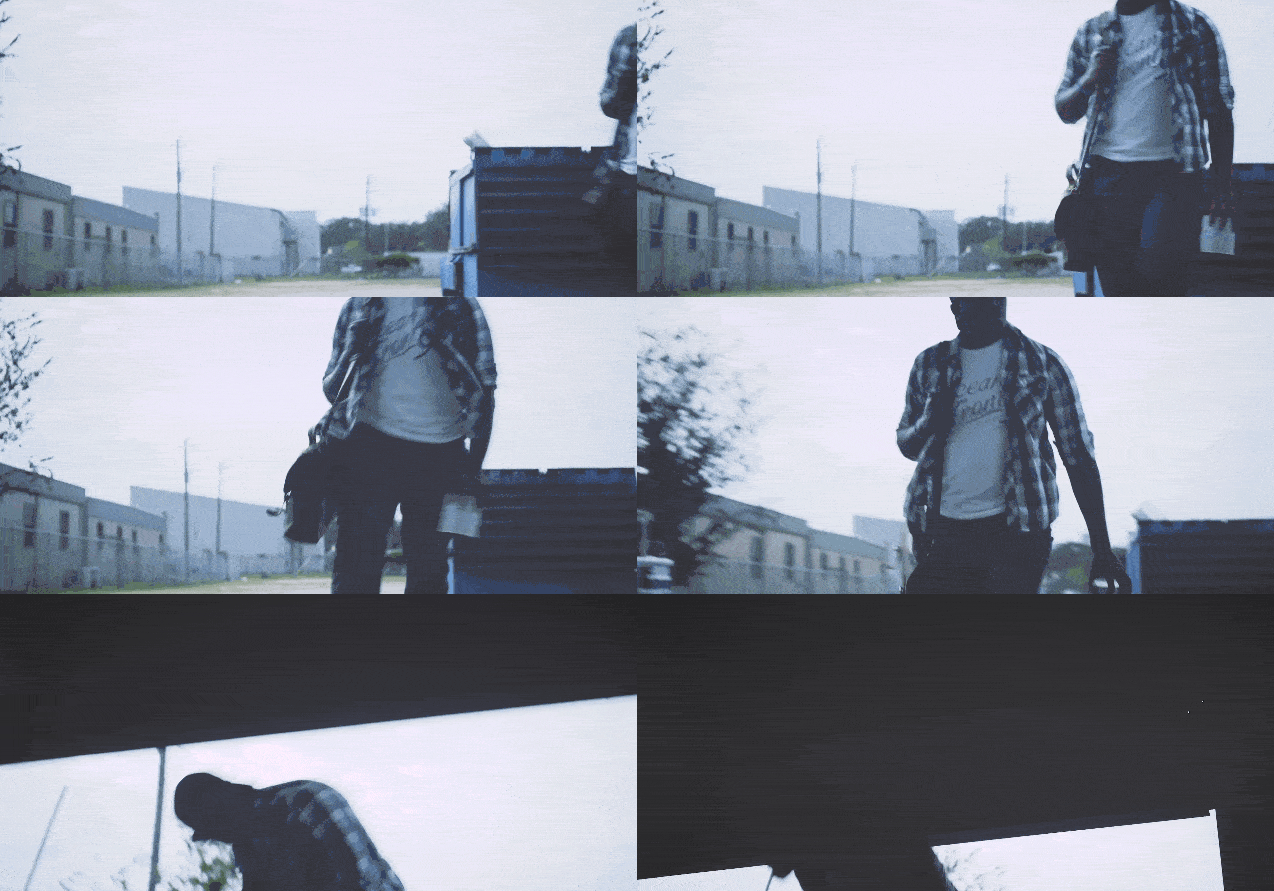
Example #1:
The idea to have the muralist duck under his half opened studio garage door happened on the fly. According to the simple story, he was simply supposed to enter the studio.
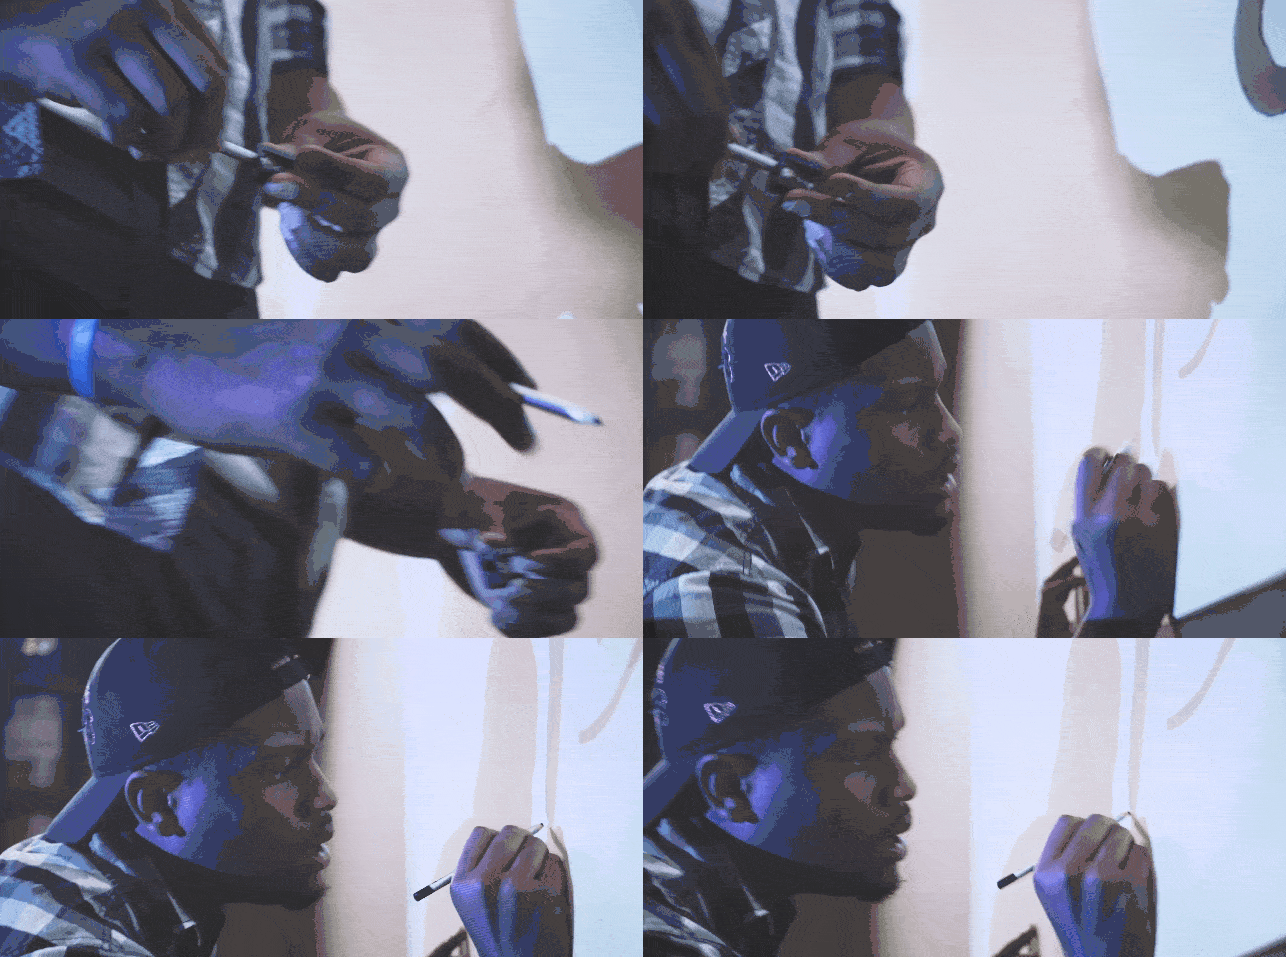
Example #2:
The detail shot of the muralist sharpening his pencil midway was completely unplanned.
It happened because the actor literally needed to re-sharpen his pencil, so I captured it — and it turned out cool! 😎
Examples #3 & #4:
The two transition shots of the muralist progressing to the next phases:
The first when he transitions from sketching with his pencil to the paint.
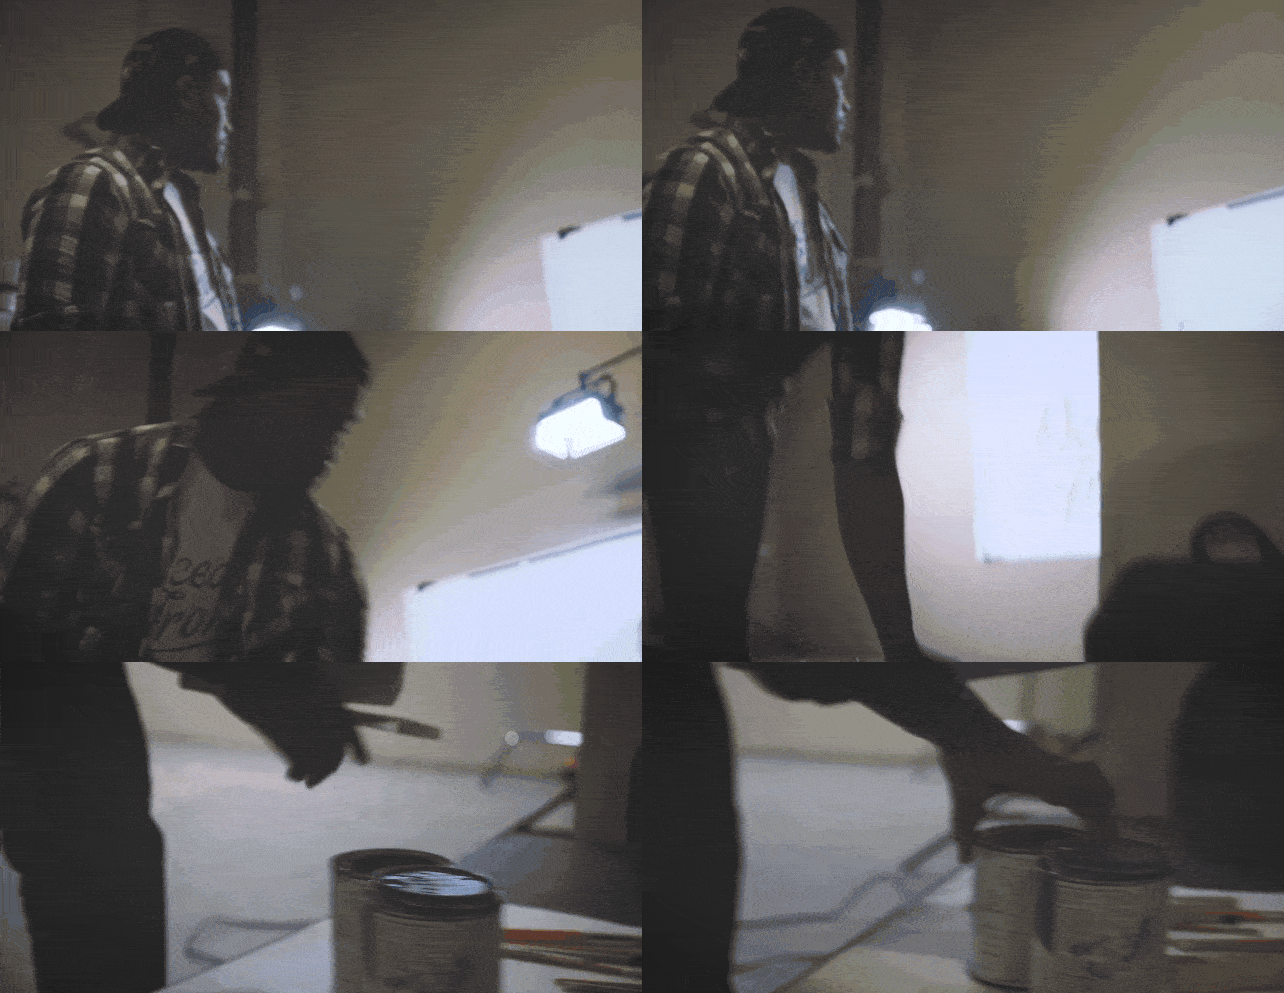
The shot of the muralist taking off the jacket happened because the actor was literally getting hot and started sweating on camera, so I captured him taking it off — simple right?
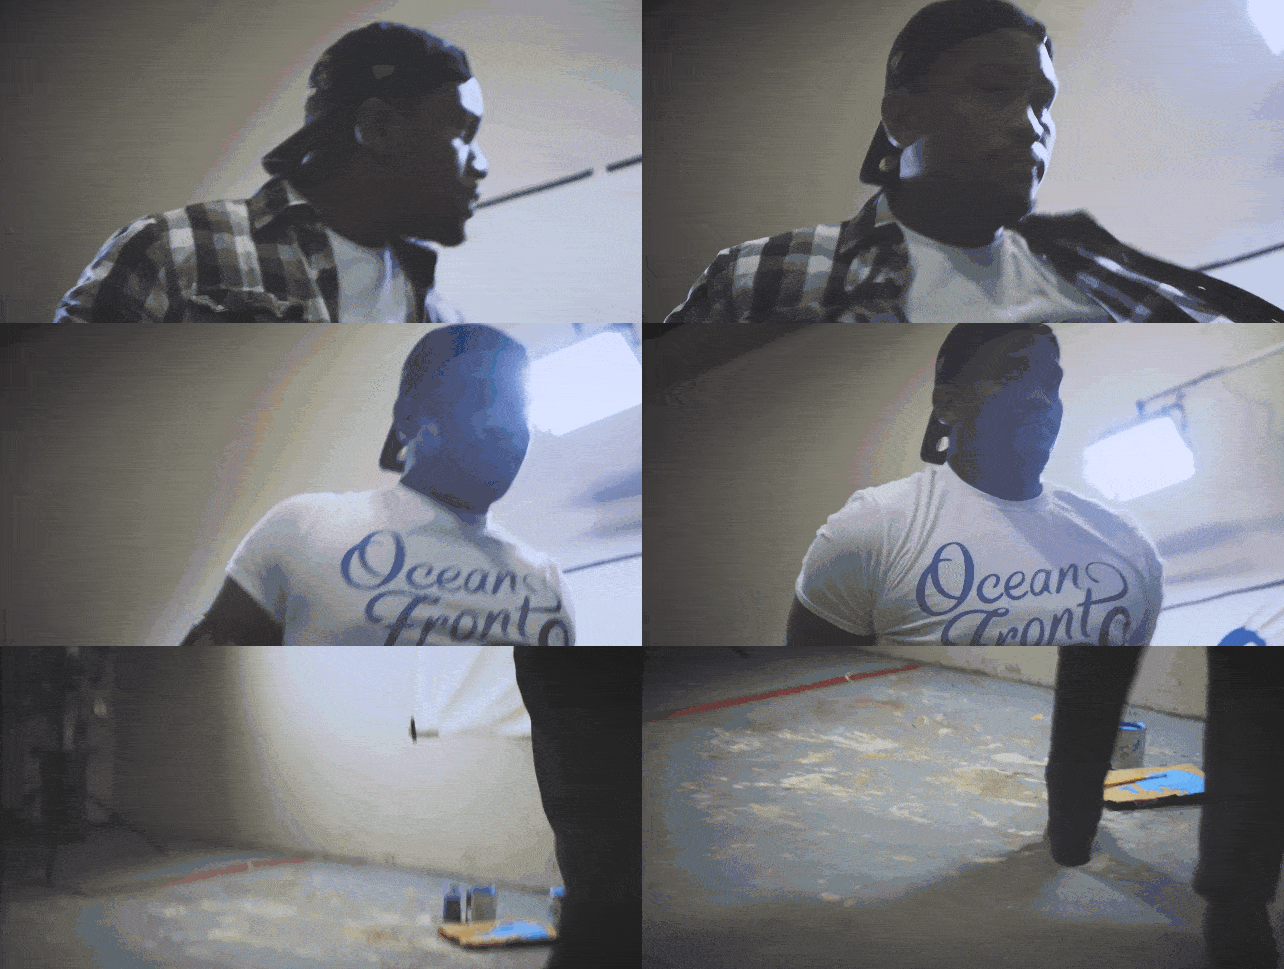
— both of these shots were unplanned but turned out great!
Example #5:
The shots of the muralist loading paint on his brush and drying it on his towel — completely inspired on the fly.
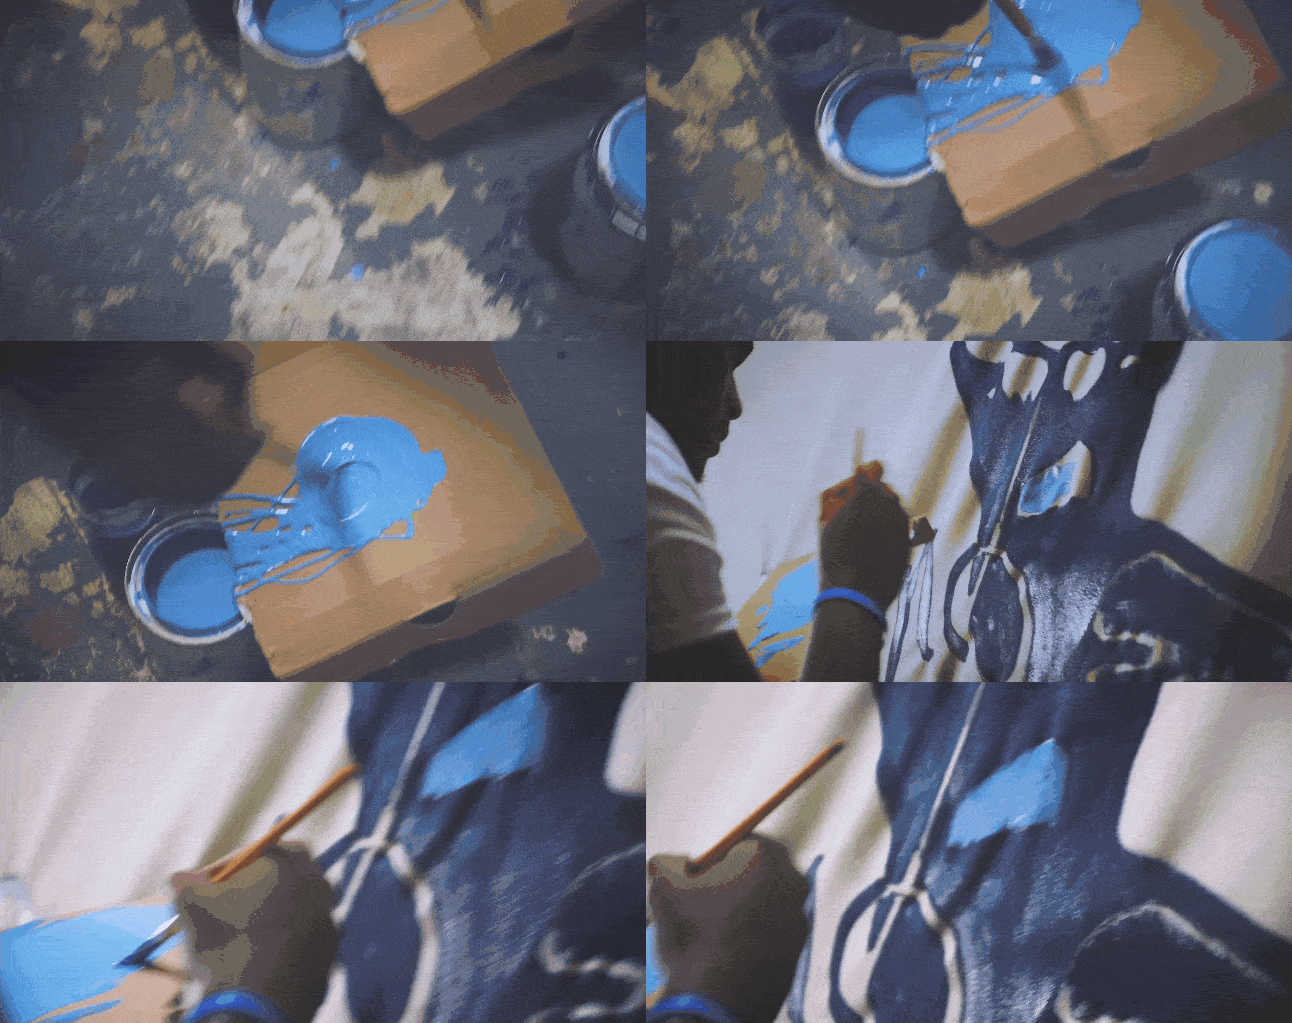
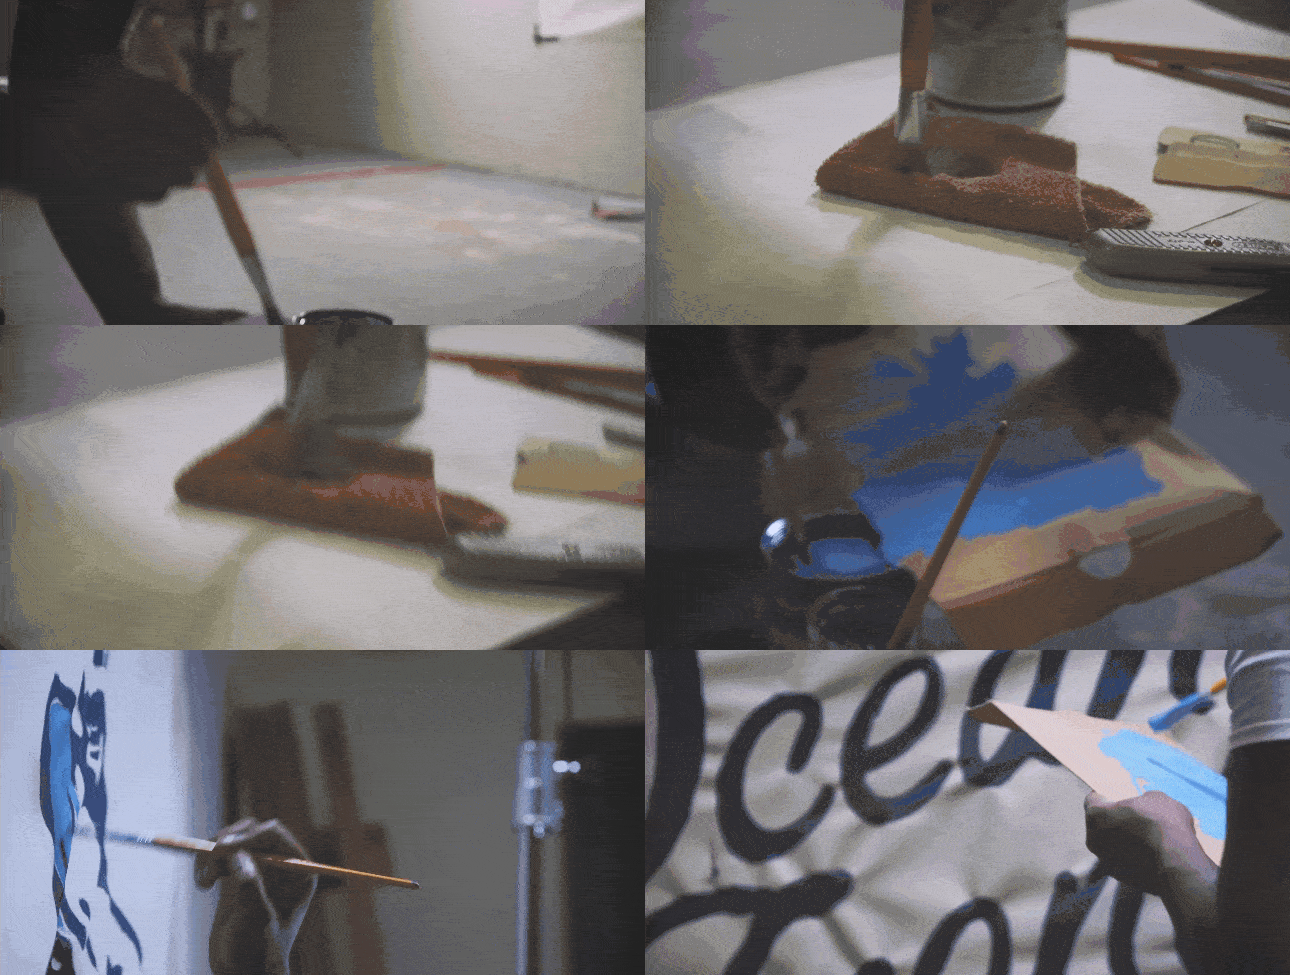
In my experience, those moments of inspiration happen best and most magically when I’ve done preparation for a shoot.
Amateurs try to pull off these sorts of visuals by skipping straight to Step 3 and seeing what “comes of it”.
You’re no longer creating amateur work — so do what the pro’s do — know the story you’re wanting to capture BEFORE you shoot.
Wrapping it Up
As you can see, montage sequences are classic cinematic tricks for creating larger-than-life visuals.
But to get the most out of them, it’s crucial that you plan your shoot using a simple story and shot list.
In order to not overcomplicate the process, simplicity is KEY — I can’t stress this enough.
And make sure you give yourself enough time to capture those “magical” moments on set.
I hope this guide has helped you get on the path to creating stunning montage sequences.
Happy shooting!
🤞🏽😊 🎥 📸 🔭 📹 ✨✨✨✨✨
Peace and Love.
